
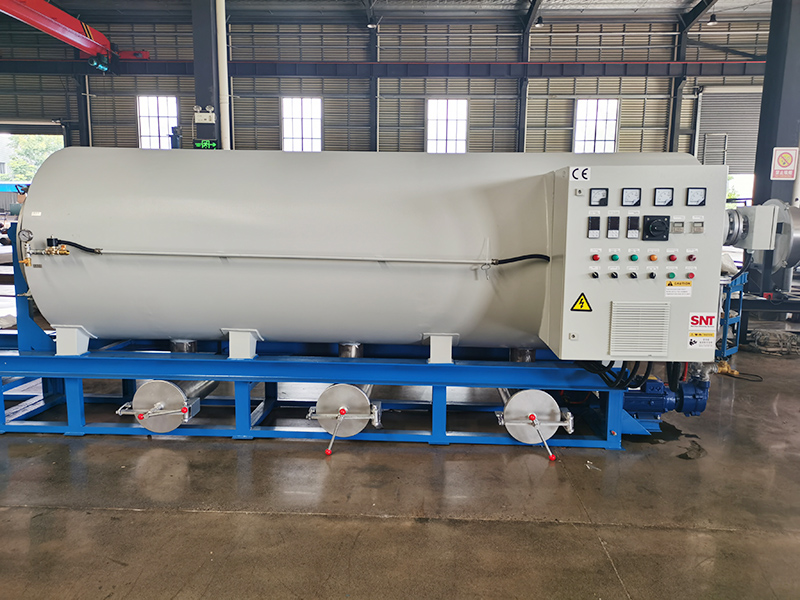
Proper ventilation and drying after cleaning a screw cleaning oven is a critical step that prevents hidden moisture damage, unexpected corrosion and residual contamination that can ruin subsequent processing batches. Skipping or rushing this process often leads to avoidable issues that undo all the work put into the earlier cleaning stages.
Pre-drying preparation before starting ventilation
Double check that no wet cloths, liquid containers or leftover cleaning tools are left inside the oven chamber before you begin the drying process. Confirm all removable components including the screw assembly, support racks and trays have been rinsed and wiped down to remove all visible standing water on their surfaces. Make sure the entire surrounding work area has steady cross flow of fresh air, with no closed doors or blocked vents that would trap humid air around the equipment. Remove any waterproof protective covers you placed over electrical components during the wet cleaning process, and wipe these parts one more time with a completely dry lint-free cloth to pick up any accidental stray moisture. Keep the main power supply disconnected at this stage, so no electrical components are energized while there is still visible moisture inside the chamber.
Staged ventilation and drying operation process
First, prop the oven door open to a 45-degree angle instead of fully wide, to let humid air escape slowly without pulling in large amounts of loose workshop dust. Leave the equipment in this state for at least 30 minutes, to let most of the surface moisture on flat inner walls and component surfaces evaporate naturally at room temperature. After this initial air drying phase, use low-pressure dry filtered compressed air to blow gently into narrow gaps, thread crevices and hidden dead zones where trapped moisture tends to collect. Direct the air flow along the direction of gaps instead of blowing directly into sealed openings, to push trapped water vapor out instead of driving it deeper into hidden corners. Once all visible traces of moisture are gone, you can close the oven door partially and restore low power to run a mild warm air circulation cycle. Keep the temperature well below the normal working heat level for this stage, to slowly evaporate any remaining tiny hidden moisture pockets without creating sudden large amounts of steam. Leave a small gap on the oven door during this warm cycle, to make sure all evaporated water vapor can flow out of the chamber instead of condensing back onto cool inner surfaces.
Final verification and post-drying checks
Run your hand along the inner chamber walls, heating tube surfaces and screw assembly to feel for any cool damp spots that signal leftover hidden moisture. Shine a bright portable light into all narrow gaps, seal edges and ventilation ducts to check for tiny water droplets that are hard to spot with regular overhead lighting. Leave the oven door fully open for another 15 minutes after the warm air cycle ends, to let all residual moist air clear out completely before you close the equipment up. Confirm no faint damp or musty odors remain inside the chamber, which would be a clear sign that trapped moisture is still present and needs more drying time. Once you are fully sure every surface is completely dry, you can reassemble all components and prepare the equipment for its next regular operation cycle.
Rushing the drying step to get the equipment back into production quickly often leads to hidden corrosion on precision metal parts that shows up after a few operation cycles. Taking the extra time to follow a full staged drying process protects your equipment investment and keeps every subsequent cleaning run consistent and reliable.


