
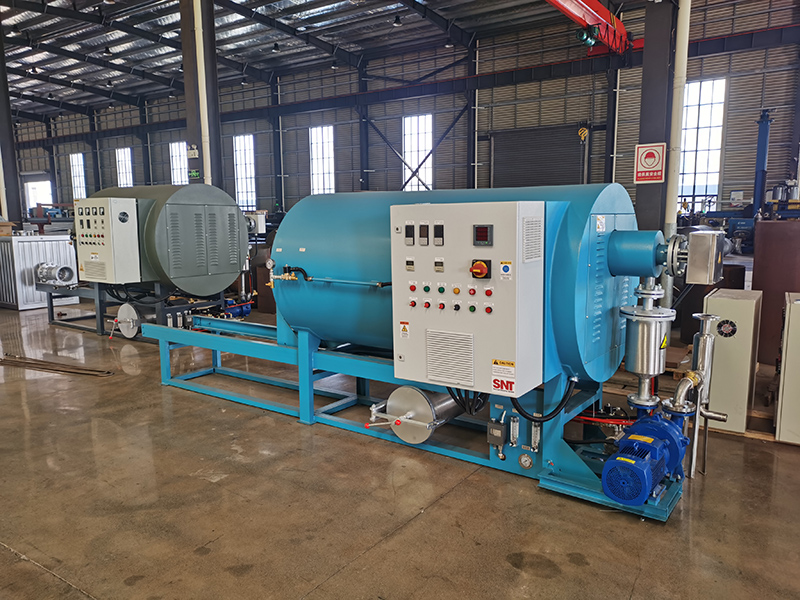
Based on our previous discussions about Screw cleaning furnace, particularly regarding common minor faults like Dust accumulation fault, cabin door closing is sluggish, and issues from Damp environment, the following guide focuses on initial, operator-level troubleshooting steps for similar minor operational faults. It is designed for situations where immediate professional service is not available, and all actions must be performed with the machine fully powered down, electrically isolated, and cooled to ambient temperature.
Identifying and Addressing Common Operational Irregularities
Before any physical intervention, accurately identify the symptom. Cleaning the furnace that fails to reach or maintain set temperature often points to a thermal sensor calibration drift or heating element contact issues. If the furnace door shows resistance during manual closing or fails to latch securely, the primary suspects are debris accumulation on the sealing surfaces or misalignment of the door hinges and latch mechanism. Unusual noises during the screw rotation cycle, such as scraping or grinding sounds, typically indicate foreign material obstruction within the chamber or a component, like a baffle or support bracket, that has become loose and is interfering with the rotating assembly.
Initial Safety and Visual Inspection Protocols
The absolute first step for any suspected fault is a complete safety shutdown. Lock out and tag out the main electrical power source. Verify the internal chamber temperature has cooled to a safe level for contact. Once confirmed safe, conduct a thorough visual inspection using a high-intensity work light. Examine the Furnace door seal and its channel for any accumulated carbonized residue, polymer flakes, or physical damage that could prevent a proper seal. Inspect the visible portions of the Screw and chamber interior for large, loose chunks of hardened polymer or obvious foreign objects. Check all visible mechanical linkages, hinge points, and latch assemblies for signs of wear, looseness, or obstruction.
Basic Cleaning and Mechanical Adjustment Procedures
For many minor faults, a meticulous cleaning is the most effective first response. Using non-metallic scrapers and soft brushes approved for the chamber material, carefully remove all loose debris from the door seal groove, chamber floor, and Screw surfaces. For Hatch door alignment issues, inspect the hinge pins and brackets for play. Minor misalignment can sometimes be corrected by slightly loosening the hinge mounting bolts, gently repositioning the door for even closure, and re-tightening the bolts sequentially to specification. Never force the door closed, as this can permanently damage the latch or hinge mechanism. For temperature discrepancies, while internal sensor or element repair is not an operator task, you can verify that all external cooling vents and fan intakes are completely clear of dust and obstructions, as insufficient cooling can trigger safety cut-offs that mimic heating failures.
Post-Intervention Verification and Monitoring
After performing any cleaning or adjustment, conduct a functional test without a production load. Close and latch the door, restore power, and initiate a low-temperature heating cycle or a brief rotation cycle. Listen for the resolution of any previous abnormal noises. Observe the control panel for error codes during startup. For a Hatch door issue, verify that the door seals evenly and that any door-closed indicator switches activate reliably. For a heating issue, monitor the temperature ramp-up rate against the machine’s historical performance. It is critical to document the initial symptom, the action taken, and the result of the verification test. This log provides valuable data for maintenance personnel if the issue recurs or escalates, helping to diagnose a developing underlying problem.


