
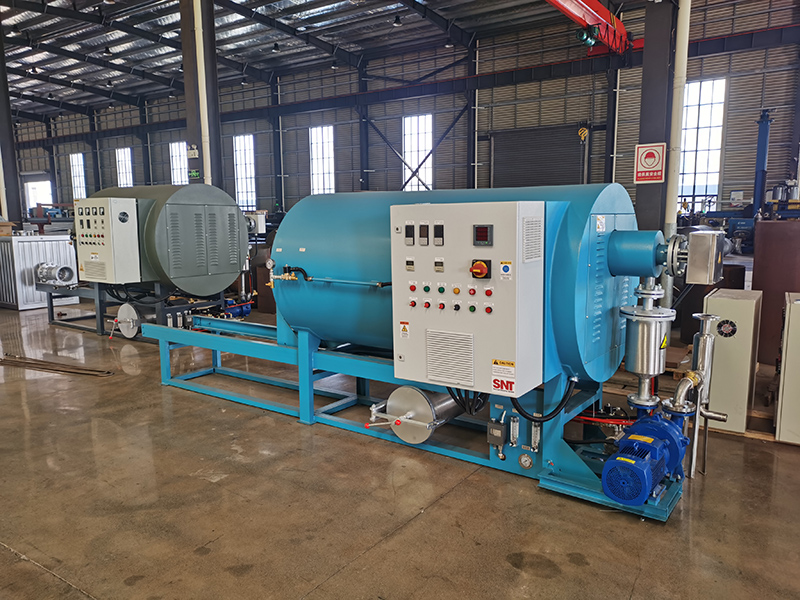
When you work on screw cleaning furnace maintenance, breaking down and cleaning its parts the right way can make a huge difference in long-term performance and operational stability. This practical guide walks you through step-by-step methods that are easy to follow, no extra complex tools or professional background required.
Preparations before you start disassembling parts
First, cut off all power supply to the whole system and hang a clear lockout tag on the main switch to avoid accidental startup during the process. Gather basic hand tools including screwdrivers with different head types, strap wrenches, soft bristle brushes, dry rags and a portable vacuum with a narrow nozzle. Let the entire furnace cool down completely to room temperature before you touch any components, so you can avoid burns from residual high temperature and prevent sudden oxidation of exposed hot metal parts. Lay all removed small screws, gaskets and connectors on a flat clean surface in the exact order you take them off, which will save you a lot of trouble when you put everything back later.
Disassembly sequence for core internal components
Start by taking off the access panels on both sides of the furnace body, then slowly separate the connection flange between the screw and the driving shaft. Turn the screw assembly forward gently with a dedicated auxiliary tool until the front end of the screw sticks out of the barrel, then you can remove the threaded connector on the screw head smoothly. Take out each segmented screw element one by one along the original assembly direction, and place them on a padded workbench to prevent scratches on the threaded edges. After all screw parts are moved out, loosen the fixed structure of the heating liner and take it out carefully, then remove the air guide pipes and filter screens hidden in the corners of the inner cavity.
Targeted cleaning methods for different parts
For screw elements with accumulated carbon and residual materials, use a soft brass brush to scrub along the direction of the threads first, then wipe every gap with a damp lint-free cloth dipped in mild neutral detergent. For stubborn deposits that stick tightly to the metal surface, you can use thin wooden or plastic scrapers to lift them off gently, never use sharp metal tools that will leave deep scratches on the precision surface. For the inner wall of the heating liner and the air guide pipes, use compressed air with moderate pressure to blow away loose debris first, then run a flexible cleaning brush through the full length of the pipes to clear all hidden residues. For filter screens and sealing gaskets, rinse them under running warm water, make sure no tiny particles are left in the mesh holes, then leave them in a cool dry place to dry completely before reinstallation.
Post-cleaning check and reinstallation tips
Inspect every cleaned part carefully before you put them back, make sure there is no remaining debris, no new scratches on the metal surface, and all threaded holes are unobstructed. Assemble the screw elements strictly following the original sequence, apply a thin layer of high temperature resistant protective film on the contact surface of each part to reduce friction during later operation. Align the screw assembly with the driving shaft slowly, do not force any part into position if you feel obvious resistance, adjust the angle gently until every connector slides into place smoothly. After all panels are fixed back, run a no-load test for 5 to 10 minutes to check that the whole system runs smoothly without abnormal noise or shaking.



