
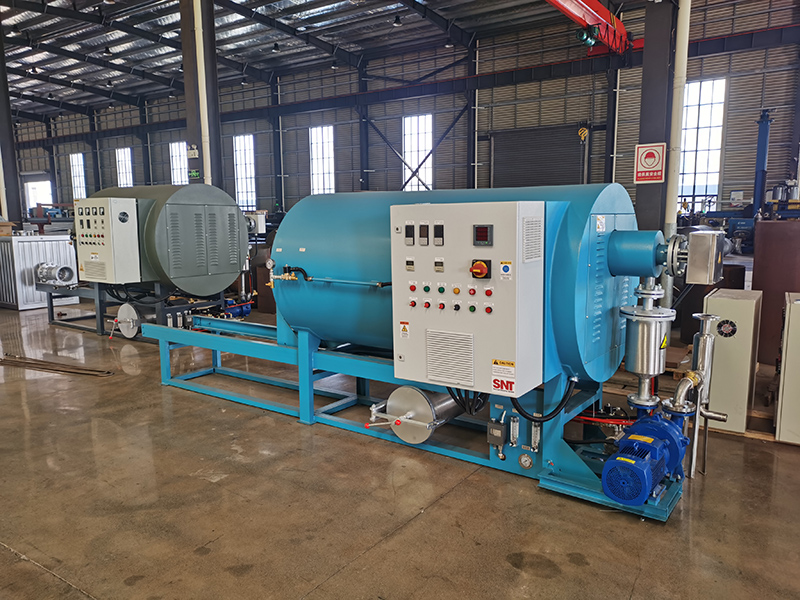
Proper disassembly and cleaning of the filter screen in a screw cleaning oven is essential for maintaining consistent air flow, preventing overheating and stopping fine debris from circulating back into the cleaned parts. A careful step-by-step approach ensures the delicate filter mesh is cleaned thoroughly without damage, so it can perform its job effectively through many operation cycles.
Pre-disassembly safety and preparation steps
Fully disconnect the main power supply and wait for the oven to cool down completely, to avoid accidental burns and to prevent hot components from warping during handling. Locate the filter screen housing, which is usually positioned near the air intake or exhaust vent, and check the manufacturer’s guide for any specific disassembly notes or warnings. Lay out a clean soft cloth or mat on your work surface, to place the filter screen on after removal without scratching or denting the fine mesh. Have a set of basic hand tools ready, but avoid using excessive force or improvised tools that could bend the filter frame or tear the mesh material. Put on a pair of clean gloves to keep skin oils off the filter surface, which can attract dust and make future cleaning more difficult.
Filter removal and initial cleaning process
Start by loosening the fasteners or latches that hold the filter screen housing in place, using the correct tool size to avoid stripping screw heads or damaging latch mechanisms. Gently slide the filter screen out of its housing, paying attention to its orientation so you can reinstall it the same way later. Hold the filter by its sturdy frame edges, not by the delicate mesh center, to prevent accidental tears or deformation. Take the filter to a well-lit area and tap it lightly against the inside of a large empty container to dislodge loose surface dust and large debris particles. For stubborn caked-on residue, use a soft bristle brush to gently scrub the mesh in the direction of the weave, not against it, to avoid pushing debris deeper into the filter layers. If the filter is heavily clogged with grease or oily residue, you may soak it in a mild, non-corrosive cleaning solution for a short time, but always check the manufacturer’s material compatibility first to avoid damage. Rinse the filter thoroughly with low-pressure lukewarm water, making sure to direct the water flow from the clean side toward the dirty side to push debris out, not deeper in.
Drying, inspection and reinstallation checks
Place the cleaned filter on a clean dry cloth in a dust-free area with good air circulation, and let it air dry completely. Avoid using high heat or compressed air to speed up drying, as sudden temperature changes or high pressure can distort the fine mesh or weaken adhesive bonds in the frame. Once fully dry, hold the filter up to a bright light and look through the mesh to confirm no blocked spots, tears or permanent damage are present. Check the filter gasket or sealing edges for any cracks or wear that could let unfiltered air bypass the screen during operation. Carefully slide the filter back into its housing, making sure it sits flush and level with no gaps around the edges. Secure all fasteners or latches firmly but without overtightening, to avoid warping the frame. Before restoring full power, run a short low-speed fan test if your oven has that function, to confirm air flows smoothly through the filter without unusual whistling or rattling noises.
Add a visual filter check to your regular weekly maintenance routine, so you can spot early signs of clogging before it affects oven performance. A clean filter not only protects internal components from dust, it also helps maintain stable temperatures and consistent cleaning results across every batch.



