
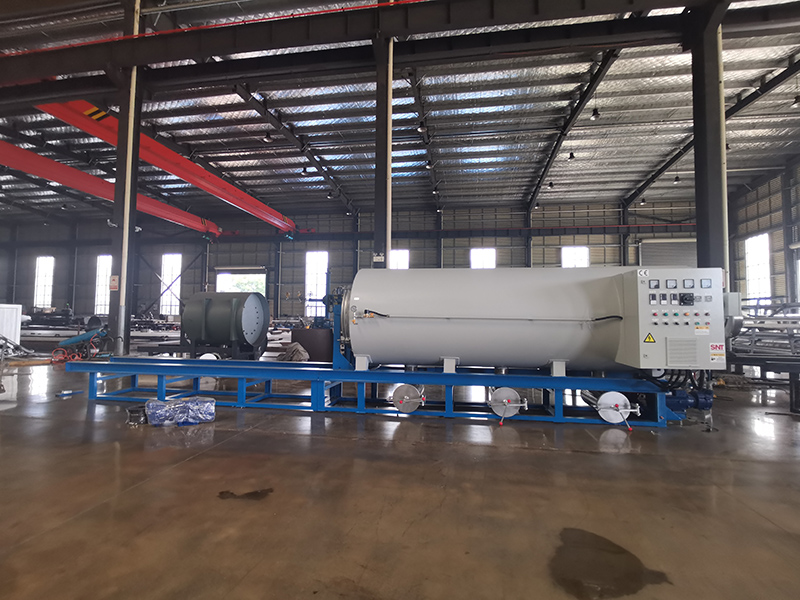
Dry cleaning procedures for screw cleaning ovens are designed to remove residual polymer, carbon buildup and other contaminants from internal screw surfaces without using water or harsh chemical solvents. This method helps extend equipment service life, reduce cross-contamination risks between production batches and cut down unnecessary downtime during regular maintenance.
Pre-operation safety and preparation checks
All power supplies connected to the screw cleaning oven must be fully disconnected and locked out before any cleaning work begins. Confirm that the internal temperature of the equipment has dropped below 40 degrees Celsius to avoid accidental burns during manual handling. Wear heat-resistant gloves, safety goggles and a dust mask to block fine particles and residual fumes that may be released during the cleaning process. Clear the surrounding work area of all flammable materials, plastic tools and unrelated production parts to create a fully unobstructed operating space. Double check that all ventilation openings on the oven shell are not blocked, so that any small amount of generated dust can be discharged smoothly without accumulating inside the chamber.
Step-by-step dry cleaning workflow
First, remove the screw assembly from the oven cavity and place it on a flat, heat-resistant workbench. Use a stiff natural bristle brush to scrub loose surface residue along the spiral direction of the screw flights, working from one end to the other to avoid pushing debris deeper into narrow gaps. For stubborn carbon deposits that do not come off easily, use a non-abrasive plastic scraper to gently peel away thick layers without scratching the polished metal surface of the screw. After removing all visible thick buildup, use clean, dry compressed air at a regulated low pressure to blow away remaining fine particles, starting from the non-threaded end and moving steadily toward the other side to prevent debris from flying back onto cleaned sections. Wipe the entire screw surface with a lint-free dry cloth to pick up any last traces of loose dust before moving on to the next step.
Post-cleaning inspection and equipment reset
Carefully inspect every section of the screw flights, root and tip to make sure no residual particles or leftover buildup remains in hard-to-reach corners. Check the inner walls of the cleaning oven chamber, heating elements and sealing gaskets, and wipe away any fallen debris that accumulated during the screw cleaning process. Let all components air out in a well-ventilated space for at least 15 minutes to ensure no fine dust is trapped in small gaps. Reinstall the screw assembly back into the oven following the original alignment marks, and confirm all connection points are secured properly before restoring power. Run a short no-load test cycle at low temperature to verify the equipment operates smoothly, and confirm no unexpected smoke or strange odors appear during the test run before putting the oven back into regular production use.



