
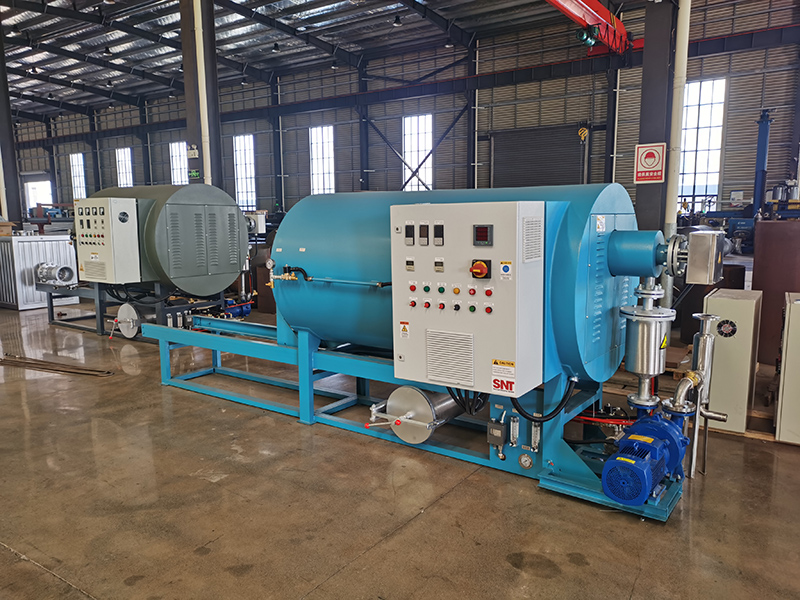
Proper use of dedicated cleaning tools for screw cleaning ovens helps remove stubborn residues without scratching precision metal surfaces, cuts down unnecessary labor time and extends the overall service life of both the equipment and internal screw components. Following correct operating steps also prevents accidental tool damage that could leave tiny debris trapped inside the oven chamber during maintenance.
Pre-use tool inspection and preparation
Check every tool for visible wear, loose parts or broken edges before you start any cleaning work. Confirm that all bristle heads on scrubbing tools are firmly attached to their handles, so no loose bristles will break off and get stuck in narrow gaps on the screw or inside the oven cavity. Inspect the surface of all scraping tools to make sure there are no sharp burrs that could leave permanent scratches on polished metal finishes. Lay all tools out on a clean, flat work mat sorted by their intended use, so you can reach for the right one quickly without fumbling through messy piles mid-operation. Double check that no leftover metal shavings or old residue from previous cleaning jobs are stuck on any tool surface, to avoid introducing new contaminants during this round of maintenance.
Targeted operation for different cleaning scenarios
When working on thick, layered carbon buildup on screw flight surfaces, hold the scraping tool at a 30-degree angle against the metal and move it slowly along the direction of the spiral groove. Apply steady, even pressure instead of forcing the edge hard against the surface, to peel away large chunks of residue without digging into the base metal. For narrow, hard-to-reach gaps at the root of screw threads, use slender, profile-matched scrubbing tools that fit fully into the groove without wobbling. Move the brush in short, straight strokes back and forth to lift out fine trapped particles, instead of twisting the handle at sharp angles that could bend or break the bristles. When cleaning the inner walls and hidden corners of the oven chamber, extend long-handled tools gently into the cavity and work from the far end back toward the open door. This keeps loose dislodged debris from getting pushed deeper into sealed heating zones that are hard to reach later. For light surface dust on heating elements and sealing edges, use soft, lint-free wiping tools that leave no tiny fiber fragments behind after you finish the pass.
Post-use tool care and storage steps
Wash every tool thoroughly with mild, neutral cleaning solution right after you finish the maintenance task, to remove all stuck-on polymer residue, carbon dust and other contaminants. Rinse each part multiple times with clean water to wash away all traces of the cleaning solution, then pat every surface dry with a soft cloth immediately. Inspect the bristle heads, scraping edges and handle connections again after cleaning, to spot any new wear or damage that needs to be fixed before the next use. Store all cleaned tools in a dry, closed storage cabinet separate from general workshop tools, to keep them from picking up oil, metal shavings or other stray debris during idle periods. Label each storage slot clearly according to tool type, so you can grab the correct dedicated tool quickly for the next screw cleaning oven maintenance session without mixing it up with unrelated general workshop equipment.
Do not leave wet or dirty tools lying around the work area after use, as leftover residue can harden on the surface and make the tool less effective the next time you need it. Regularly check the condition of all tools on a fixed schedule, and replace any parts that show excessive wear to avoid unexpected breakage during critical cleaning operations.



