
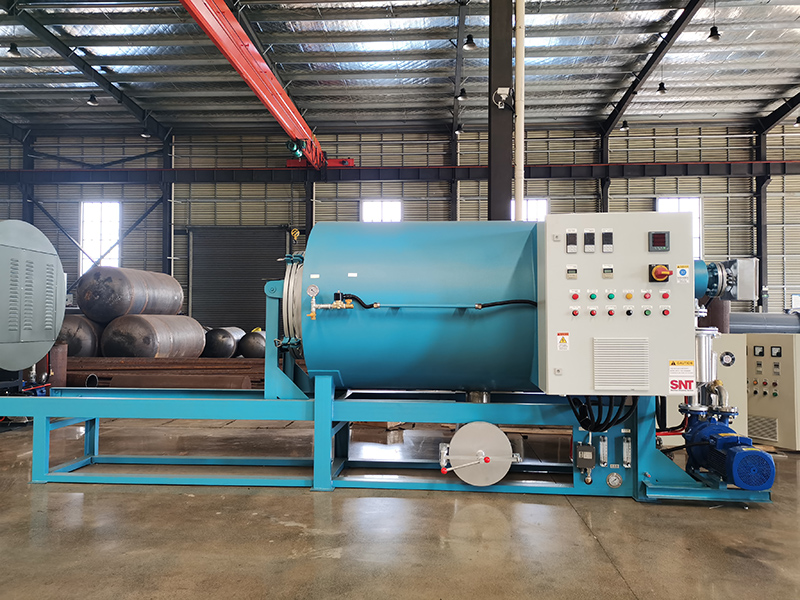
Quick, simple cleaning during short production breaks for a screw cleaning oven prevents light residue from hardening into stubborn buildup, keeps consistent cleaning performance across batches and avoids wasting long scheduled maintenance hours on easily preventable messes. These short, low-effort steps fit naturally into gaps between production runs without disrupting the overall workflow.
Pre-cleaning quick setup during production pauses
First, confirm the oven internal temperature has dropped to a safe level that lets you open the door and work without accidental burns. You do not need to wait for a full cool down to room temperature, but make sure no visible hot spots that could cause burns or melt cleaning tools are present. Grab only the few dedicated tools you need for this quick task, so you do not waste time gathering supplies or spreading unnecessary clutter around the production line. Keep the main production line’s surrounding work area clear of stray cleaning supplies, so other team members can continue their unrelated tasks without obstruction. Double check that you will not need to disconnect any main power lines for this quick process, as this helps cut down the total time the equipment stays out of operation.
Step-by-step quick cleaning workflow between batches
Start by opening the oven door and using a dry lint-free cloth to wipe down the inner door seal and the exposed edge of the chamber wall that faces the opening. This is where most stray melted residue and fine dust accumulates first during normal operation, and wiping it away right away stops it from baking into a hard sticky layer. Next, use a soft dry brush to sweep loose particles off the visible sections of the screw flights that are easiest to reach, working in quick steady strokes along the spiral direction. You do not need to take the full screw assembly out for this step, just clear away the loose surface debris that would flake off into the next batch. After that, use low-pressure dry compressed air to blow lightly across the heating element surfaces, to dislodge any loose fine dust that settled there during the last operation cycle. Keep the air flow moving in one direction toward the open oven door, so all dislodged dust blows out of the chamber instead of settling back onto other internal parts. Finish by wiping down the outer shell of the oven and the control panel with a separate clean dry cloth, to remove any spilled production material, oil smudges or dust that accumulated on the exterior during the last run.
Post-cleaning quick check before resuming production
Close the oven door and run a short 5-minute no-load warm up cycle to make sure no loose leftover dust is still floating inside the chamber. Open the door briefly after this short cycle to confirm no unexpected smoke or strange odors appear, which would signal you missed a small patch of residual material. Do a quick visual scan of all easily accessible internal surfaces to confirm no cloth fibers, loose brush bristles or stray debris are left behind. Reset the oven parameters back to your standard production settings, so the equipment is ready to start the next batch immediately without extra adjustments. Jot down a quick note on your maintenance log to record this short cleaning step, so you can track how often these quick checks happen and spot any unusual residue buildup patterns early.
These short 5 to 10 minute cleaning steps during natural production gaps add almost no extra downtime to your schedule, but they prevent most of the stubborn buildup that would later require hours of deep cleaning to remove. Many teams find that sticking to this simple routine makes their full scheduled deep cleaning sessions far faster and easier to complete.



