
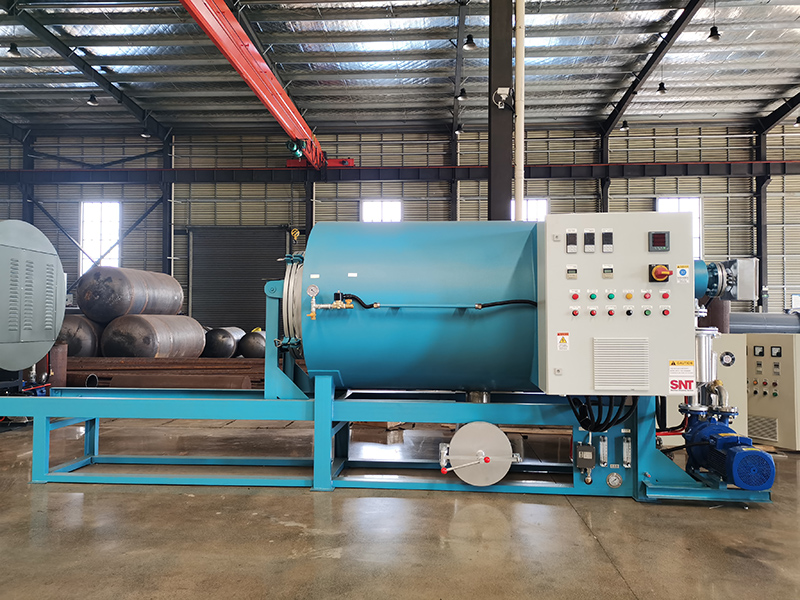
Centralized collection and disposal of cleaning residue from screw cleaning ovens keeps the work area clean, prevents cross contamination and ensures safe handling of waste materials that may contain fine particles, chemical traces or other workshop byproducts. A structured approach to residue management turns a messy cleanup task into a routine, efficient part of the overall maintenance process.
Pre-collection workspace setup and safety preparation
Lay down disposable protective sheets or reusable containment mats around the base of the oven and under the workbench where the screw assembly is cleaned. This catches falling debris during the cleaning process and prevents fine particles from scattering across the workshop floor. Place dedicated collection containers with tight-sealing lids near the work area, labeled clearly for different waste types such as dry polymer flakes, wet sludge, used cleaning cloths and disposable tools. Wear appropriate personal protective equipment including a dust mask, safety goggles and gloves throughout the entire residue handling process, to avoid direct contact with potentially irritating fine dust or chemical residues. Confirm that all ventilation in the work area is functioning properly, to carry away any airborne particles that might be stirred up during the collection process. Keep a portable vacuum cleaner with a HEPA filter nearby for quick cleanup of scattered fine dust, but do not use it for large chunks or wet residue that could clog the filter.
Step-by-step residue collection and segregation workflow
Start by using a soft brush and dustpan to collect all large dry debris dislodged from the screw assembly and oven chamber, sweeping it directly into the designated dry waste container. For sticky or greasy residue that does not brush off easily, use a plastic scraper to lift the material off the surface and place it into a separate container for wet or oily waste. Wipe down all internal surfaces with lint-free cloths after the initial debris removal, and place these used cloths into a sealed bag or container to prevent residual odors from spreading. If you used any liquid cleaning agents, carefully pour the leftover solution and rinse water into a dedicated liquid waste container, making sure not to mix different chemical types in the same container. Use a damp cloth or mop to clean the protective sheets or containment mats, collecting all remaining fine particles into the waste containers before folding or rolling up the mats for cleaning or disposal. Finally, inspect the entire work area under bright light to spot any tiny debris fragments that might have been missed, and use a handheld vacuum or sticky roller to pick up these last traces.
Post-collection container handling and disposal protocols
Seal all waste containers tightly immediately after the collection process is complete, to prevent odors from escaping and to stop any residual moisture from attracting pests. Label each container with the date, waste type and any relevant hazard information, even if the material seems harmless, to maintain clear tracking records. Store sealed containers in a designated temporary holding area away from production lines, food storage and high-traffic workshop zones, until they can be processed according to your local waste management rules. Clean all reusable tools, brushes and collection equipment right after the disposal task, so no residue dries and hardens on their surfaces before the next use. Update your maintenance log to record the amount and type of waste collected during this cleaning session, which helps you track residue patterns and plan future waste handling needs more accurately.
Establishing a consistent routine for residue collection makes each cleaning session faster and safer, and it prevents the gradual buildup of waste materials that can clutter the work area over time. Many teams find that dedicating a few extra minutes to proper residue management at the end of each cleaning job saves significant cleanup time later and keeps the entire workshop environment more organized.



