
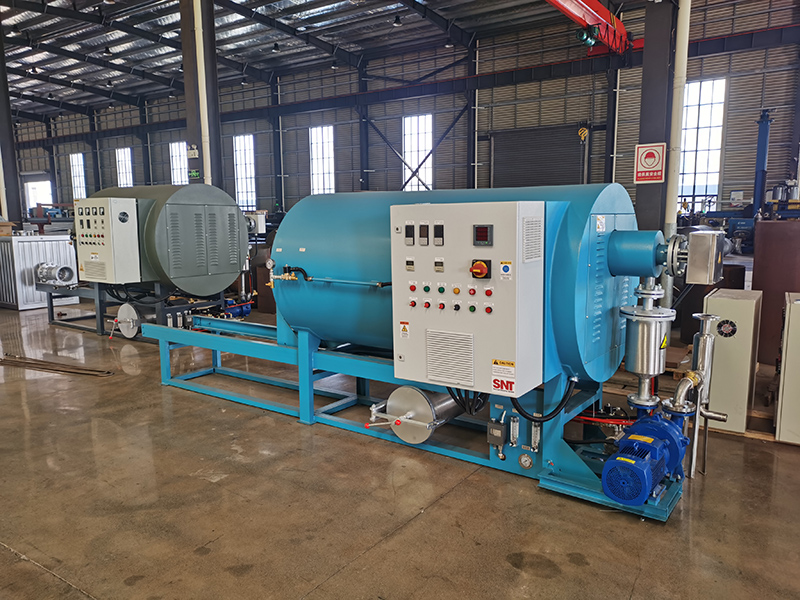
Wet cleaning for screw cleaning ovens uses controlled liquid solutions to dissolve stubborn carbon deposits, aged polymer residues and mineral buildup that dry methods cannot fully remove. This process requires strict safety controls to prevent chemical exposure, electrical hazards and unintended equipment damage during every step of operation.
Pre-job safety preparation
Fully disconnect the main power supply of the screw cleaning oven and lock the power switch with a safety tag to prevent accidental startup during the entire cleaning process. Confirm that both the oven chamber and the removed screw assembly have cooled down completely to room temperature, so no sudden steam or hot liquid will splash out when cleaning solutions are applied. Wear chemical-resistant gloves, face shields and waterproof aprons to block direct skin contact with cleaning liquids, and make sure the entire work area has continuous ventilation to discharge any volatile fumes that may be released. Place all cleaning solutions in clearly labeled, sealed containers, and keep food, drinking water and unrelated personal items far away from the operating zone to avoid cross contamination. Check that no residual electrical wiring or exposed components inside the oven chamber will come into direct contact with liquid during the cleaning process, and cover any sensitive electrical parts with waterproof protective wraps if needed.
Liquid handling and operation rules
Always pour cleaning solutions slowly along the inner wall of the container instead of splashing them directly onto the screw surface at high speed. Do not mix different types of cleaning liquids together, as unexpected chemical reactions may generate harmful fumes or cause unexpected corrosion to the metal surface of the screw. When soaking the screw assembly in the cleaning solution, make sure the entire part is fully submerged, and set a fixed soaking time according to the thickness of the residue instead of leaving it in the liquid for an unnecessarily long period. Use a soft non-metallic brush to scrub the screw surface gently along the direction of the threads, and avoid applying excessive force that may scratch the polished metal finish. Never spray cleaning solutions directly onto the outer shell or control panel of the screw cleaning oven, and wipe any accidental spills on non-target areas immediately with a dry cloth. Do not leave the operating area unattended while the screw is soaking, so you can respond right away if any unexpected leakage or abnormal fume release occurs.
Post-cleaning safety checks and disposal
Rinse the screw assembly thoroughly with clean room temperature water multiple times after scrubbing, to make sure no residual cleaning liquid remains on every section of the screw flights, grooves and end faces. Use compressed dry air to blow away all visible water from the screw surface first, then move the part to a dry, well-ventilated area to air dry completely before reinstallation. Wipe the inner chamber of the screw cleaning oven with a damp clean cloth, then follow up with multiple dry cloth wipes to remove all traces of moisture, and leave the oven door open for at least 30 minutes to let all remaining water vapor dissipate. Dispose of used cleaning liquid and rinse wastewater according to local industrial waste management rules, instead of pouring them directly into regular drainage systems. Do not reinstall the screw or restore power to the oven until every metal part inside the chamber and the screw assembly are 100% dry, to prevent electrical short circuits or unexpected corrosion during subsequent operation.


