
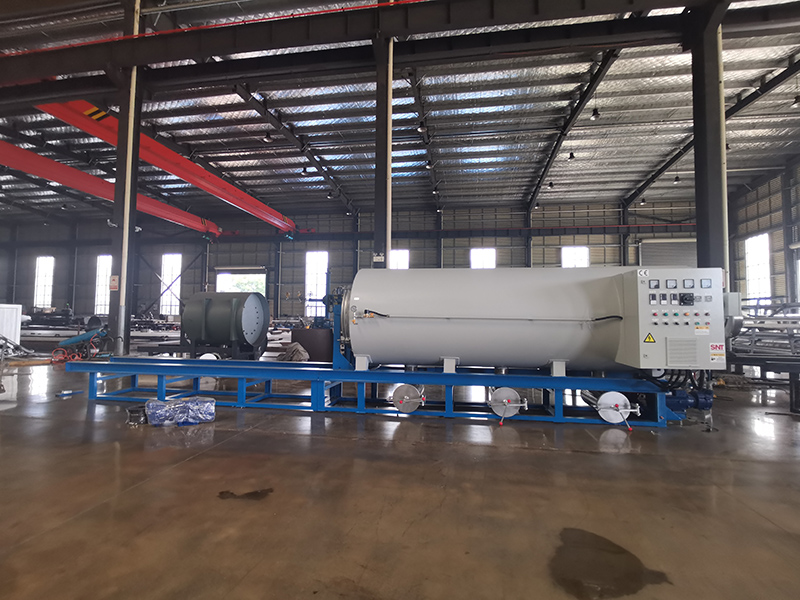
Abnormal fan operation in a screw cleaning furnace can disrupt stable airflow, break consistent heating cycles, and create unexpected safety risks that slow down your entire industrial production line. Many operators ignore subtle early signs of this issue, which often turns a simple fix into a full system shutdown that takes days to resolve.
Early warning signs and root cause identification
Most abnormal fan issues show clear, easy-to-spot symptoms long before the fan stops working entirely. You may notice unusual rattling, scraping, or high-pitched squealing noises that were not present during normal operation, or feel excessive vibration that travels from the fan housing to the connected furnace pipes. In many cases, the fan will also fail to deliver the required airflow, leading to uneven furnace temperatures, poor exhaust of cleaning fumes, or unexpected pressure fluctuations inside the screw cleaning chamber.
These problems rarely appear without a clear trigger. Long-term dust and residue buildup from the furnace’s cleaning process often clogs the fan impeller, throwing the rotating assembly off balance and creating constant vibration. Worn bearing lubrication or damaged bearing components create extra friction during rotation, making the fan draw more power than normal and run at inconsistent speeds. Loose mounting bolts on the fan base, misaligned drive belts, or blocked intake vents can also create cascading issues that get worse with every hour of operation. Even minor buildup of sticky process residue on the impeller blades can shift the fan’s center of gravity, leading to steady performance decline that most operators miss during daily checks.
Step-by-step on-site disassembly and fault elimination
Start the repair process only after you fully lock out all power supplies to the fan and mark the area with clear safety warnings to prevent accidental startup. First, remove the fan housing cover and clear all accumulated dust, process residue, and debris from the impeller blades, intake filter, and internal fan chamber. Make sure every blade surface is completely clean, so the rotating assembly can regain its original balanced state.
Next, inspect all bearings carefully, check for excessive play, rough movement, or signs of overheating discoloration. Replace any worn bearings that do not meet the manufacturer’s clearance standards, and refill the remaining good bearings with high-temperature rated lubricant that matches the furnace’s working environment. Check all mounting bolts on the fan base and connection points to the furnace duct, retighten every loose fastener in a diagonal sequence to distribute pressure evenly across the entire mounting surface. If the fan uses a belt drive, adjust the belt tension to the correct tightness, and realign the motor and fan pulleys to eliminate uneven wear and slipping that disrupts consistent rotation. After these steps are done, manually spin the fan impeller by hand to confirm it moves freely, with no scraping, sticking, or unexpected resistance before you restore power for a test run.
Post-repair testing and long-term preventive maintenance
Once the physical repair work is complete, run the fan at low speed first for 15 minutes, then gradually bring it up to full operating speed while monitoring its performance closely. Check for abnormal noise, excessive vibration, or unexpected current spikes on the motor, and confirm the airflow pressure at the furnace inlet matches the system’s original design specifications. Run the full screw cleaning furnace through three complete heating and cleaning cycles to verify the fan maintains stable performance under real working load, and confirm there are no unexpected pressure fluctuations inside the furnace chamber.
To avoid repeated abnormal operation in the future, add a monthly visual inspection of the fan intake filter and impeller to your regular maintenance schedule. Clean the filter at least once every two weeks in high-dust working environments, and re-lubricate all fan bearings every three months to keep rotation smooth. Check the fan’s vibration level and motor current once a week, and log these readings in your maintenance record to track slow performance changes over time. This small, consistent routine helps you catch early signs of imbalance, residue buildup, or bearing wear long before they develop into full operational failures that stop your production line.


