
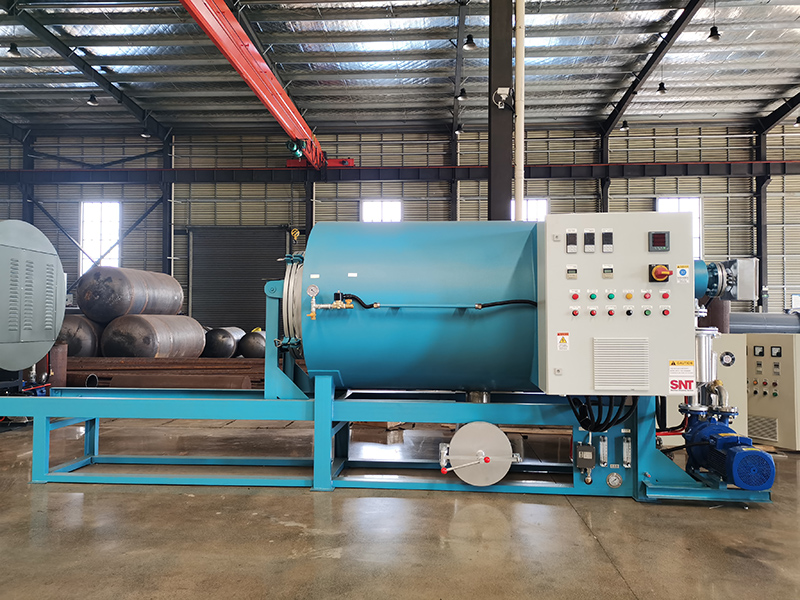
Cleaning the surface of heating tubes in a screw cleaning oven is a delicate maintenance task that directly impacts heat transfer efficiency and long-term operational safety. Improper handling can easily damage the metal sheath, leading to unexpected component failure and unplanned downtime during production runs.
Pre-operation safety and pre-treatment steps
Fully disconnect the main power supply of the screw cleaning oven and confirm the equipment has cooled down completely to room temperature before starting any work. Even residual mild heat can cause thermal shock to the heating tube surface if it comes into contact with cool cleaning solutions, creating tiny hidden cracks in the metal sheath. Put on soft, non-abrasive work gloves to avoid leaving oil or skin residue on the heating tube surface, which can bake into stubborn stains during the next heating cycle. Use a portable high-intensity light to illuminate the full length of each heating tube, so you can clearly spot thin layers of grease, carbonized residue and tiny debris that are hard to see under regular workshop lighting. Double check that no exposed wiring or electrical connectors near the heating tubes are left unprotected, and cover these sensitive parts with dry, waterproof shielding if needed to avoid accidental contact with any cleaning liquid.
Step-by-step surface cleaning workflow
Start by removing all loose, dry debris from the heating tube surface with a soft nylon bristle brush. Move the brush slowly along the curved surface of the tube, applying almost no extra pressure, to sweep away ash, fine dust and loose flaking residue without scratching the metal finish. For stubborn carbonized spots that stick tightly to the tube surface, use a smooth, soft plastic scraper to gently peel away the buildup. Hold the scraper at a very shallow angle against the tube, and never use sharp metal tools that can leave conductive fragments or permanent scratches on the protective sheath. After removing all thick visible residue, dampen a soft lint-free cloth with a small amount of mild neutral cleaning solution, and wring the cloth out completely until it is almost dry. Wipe the full surface of each heating tube in slow, steady circular motions, making sure no excess liquid drips down to the tube mounting base or other internal components. For tiny, hard-to-reach spots between closely spaced heating tubes, use the corner of a folded dry microfiber cloth to dab away remaining residue, instead of spraying liquid directly onto the surface.
Post-cleaning inspection and safety confirmation
Inspect the full length of every heating tube under bright light from multiple angles, to confirm no leftover residue, tiny bristle fragments or plastic scraps are left on the metal surface. Check the entire outer sheath of each tube for any new scratches, dents or signs of damage that may have occurred during the cleaning process. Leave the oven door fully open and let all components air out completely for at least 45 minutes, to make sure no trace of moisture remains on the heating tube surface or in the surrounding gaps. Before restoring full power, run a short low-temperature test cycle for 10 minutes, then open the oven door to check that no unexpected smoke, strange odors or abnormal hot spots appear on the heating tube surface. Add a quick visual check of the heating tube surfaces to your regular weekly maintenance routine, so you can catch light residue buildup early before it hardens into thick, stubborn carbon layers that are far harder to remove.
Never use steel wool, abrasive scouring pads or harsh chemical cleaners on heating tube surfaces, as these can leave hidden damage that will only show up after several high-temperature cycles. Even a tiny scratch on the metal sheath can create a weak point that leads to premature burnout of the internal heating wire.


