
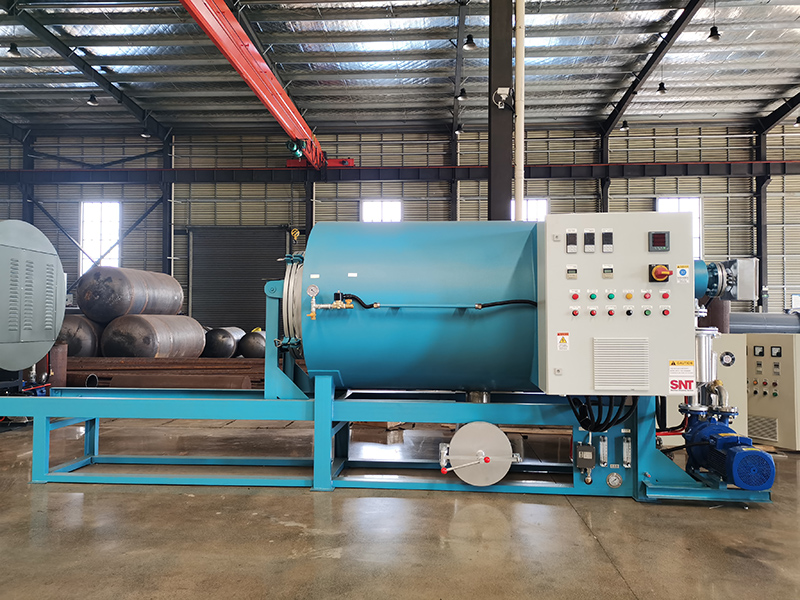
Furnace Chamber Interior Maintenance Tips for Screw Cleaning Systems
Daily Post-Operation Surface Care Routine
Wait until the chamber cools down to a safe handling temperature after each cleaning cycle before you start any internal work. Use an infrared temperature gun to check multiple spots on the inner walls, especially corners and areas near heating elements that can stay hot far longer than the main open space. Once the surface temperature drops below 60°C, put on heat-resistant gloves and use a long-handled soft brush to sweep loose residue toward the central drain point. Work from the top of the chamber downward, so all dislodged material falls to the bottom where you can collect it easily, instead of spreading across surfaces you have already cleaned.
Wipe all accessible interior surfaces with a dry, lint-free cloth after you remove the bulk of loose material. Focus on flat areas where thin films of vaporized material tend to settle and form a hard, glass-like coating over time. This coating acts as an insulator, reducing heat transfer efficiency and forcing the furnace to run longer to reach target temperatures. A quick daily wipe keeps this layer from building up, so you never need to use harsh chemical cleaners or abrasive tools that can scratch the protective surface of the chamber lining.
Inspect the condition of the chamber lining for any new hairline cracks or small chips that were not there during the previous check. Mark these spots with a small piece of high-temperature resistant tape, so you can monitor whether they grow larger over subsequent production runs. Even tiny cracks can let heat escape into the outer insulation layer, creating hot spots on the furnace exterior and raising energy consumption. Catching these issues early lets you plan for minor repairs long before they turn into major chamber lining failures that require a full shutdown.
Deep Cleaning for Stubborn Buildup and Hidden Corners
Schedule a thorough chamber cleaning after every 30 to 40 standard production runs, or whenever you notice a consistent increase in heating time for the same screw load. Start by running a low-temperature empty cycle for 20 minutes to soften any hardened residues stuck to the walls. Let the chamber cool down naturally until it is safe to enter, then use a plastic or wood scraper to gently lift thick carbonized deposits. Never use metal scrapers on the chamber lining, as even a small scratch can become a starting point for much larger cracks under repeated thermal stress.
Pay special attention to the areas directly under the screw holding fixtures and around support brackets. These spots are often shaded from direct heat during operation, so residues here cool into a sticky, tar-like substance that is far harder to remove than the dry powder found on open surfaces. Apply a small amount of approved chamber cleaner to a cloth and let it sit on the residue for a few minutes to break down the bond, then wipe it away with steady pressure. Rinse the area with a damp cloth and dry it completely before you close the chamber, to prevent any leftover moisture from turning to steam during the next heat cycle.
Check all thermocouple ports and sensor mounting points for any buildup that could block accurate temperature readings. Even a thin layer of residue on the sensor tip can cause the control system to think the chamber is cooler than it actually is, leading to overheating and potential damage to both the screws and the furnace lining. Use a soft brush to clear these small openings, making sure not to bend or damage the delicate sensor probes. A clean sensor port ensures the furnace runs at its precise designed temperature, giving you consistent cleaning results and protecting the chamber from unnecessary thermal stress.
Proactive Condition Monitoring and Minor Repair Management
Keep a simple log next to the furnace control panel to record chamber condition after each deep cleaning session. Note down the location and size of any new cracks, discoloration patches, or areas where the lining surface feels rough to the touch. Over months, this log will show you clear patterns of wear that help you predict when certain sections of the chamber might need more focused attention or eventual relining. This proactive approach is far more effective than waiting until a problem forces an unplanned production stop.
Apply a thin layer of high-temperature protective coating to any small cracks or worn spots you find during routine inspections. Use a small brush to spread the coating evenly over the damaged area, making sure it fills the crack completely without creating a thick bulge on the surface. Let the coating cure fully according to the manufacturer’s instructions before you run the next production cycle, so it forms a strong bond that can withstand the chamber’s operating temperature. This small repair can extend the life of that section of lining by dozens of runs, buying you time to plan a more permanent fix during a scheduled maintenance window.
Run a full no-load heat cycle after every chamber maintenance session, and monitor the temperature readings from multiple points inside the chamber. Compare these readings to the values you recorded when the furnace was new, or after the last major relining. Consistent temperature differences of more than 10°C between different zones tell you that insulation or heating elements in that area might be starting to fail, even if the chamber lining still looks intact from the outside. Addressing these small performance shifts early prevents sudden chamber failures that can leave your production line idle for days while you wait for replacement parts.


