
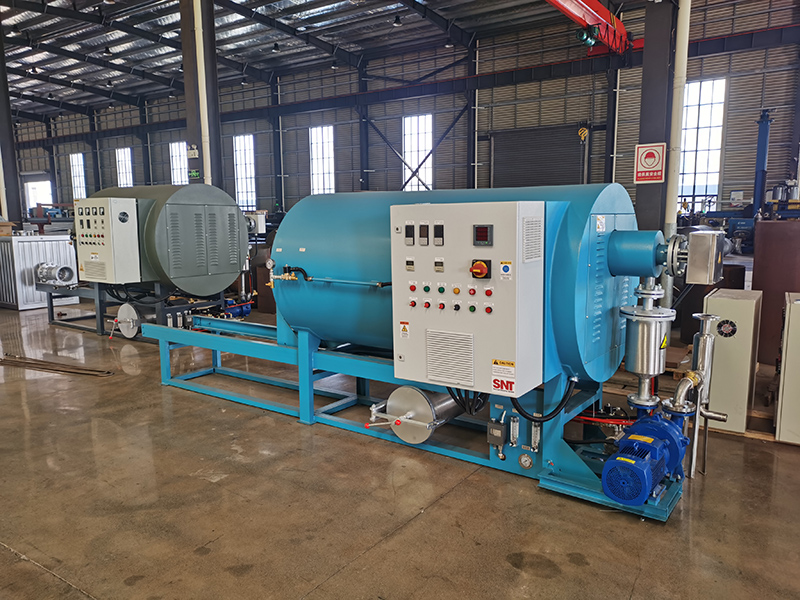
Post-Relocation Care Essentials for Screw Cleaning Furnaces
Pre-Startup Inspection After Final Positioning
Before you reconnect any power or utilities, perform a full visual walk-around of the furnace’s exterior and base. Look for any new dents, scratches, or paint damage that might have occurred during transport. Pay special attention to the underside of the machine and the areas around lifting points, where straps or forklift arms could have pressed against sensitive components. Even a small dent on an external panel can indicate a more significant impact that shifted internal parts out of alignment. Mark any such spots with removable tape, so you can check the corresponding internal area once you open the access panels.
Open all service doors and inspection ports to check for loose items inside the furnace chamber and electrical cabinets. During a move, vibration can shake free small screws, wire nuts, or bits of insulation that were secure in the original location. Remove any loose debris carefully with a vacuum cleaner fitted with a soft brush attachment, to avoid pushing material deeper into sensitive areas. Check that all internal wiring harnesses are still securely fastened in their clips and that no cables are stretched tight or pinched against sharp metal edges. A cable that was slightly loose before the move can become completely disconnected after hours of road vibration.
Verify the furnace is sitting perfectly level on its new foundation. Use a precision machinist’s level on multiple points of the base frame, not just one or two spots. An unlevel installation puts uneven stress on the internal chamber structure and can cause moving parts like conveyor mechanisms or doors to bind or wear prematurely. Shim the base carefully if needed, using solid metal shims instead of wood or plastic, which can compress over time and let the machine settle out of level again. A perfectly level base is the single most important factor for ensuring long-term reliable operation after a relocation.
Systematic Reconnection and Functional Verification
Reconnect all utilities in the correct sequence to prevent power surges or control system errors. Start with the main electrical power feed, but do not turn the main breaker on yet. Next, reconnect any data communication cables for temperature controllers and remote monitoring systems. Then, connect the process water lines and exhaust ducting, checking every joint for leaks with a simple soap solution test before you apply full system pressure. Finally, verify that all safety interlocks and emergency stop circuits are properly connected and functional by manually testing each one according to the manufacturer’s checklist.
Power up the control system in stages, beginning with the main disconnect and then energizing individual control panels one at a time. Watch for any warning lights or error codes on the display that were not present before the move. A new fault code often points to a connector that worked loose during transport or a sensor that was jolted out of its calibration range. Clear any minor faults and reset the system according to the manual before proceeding to a full startup. If the same error reappears immediately, you likely have a physical connection issue that needs to be traced and fixed before you attempt to heat the chamber.
Run the furnace through a complete series of no-load function tests before you introduce any screws or cleaning media. Start with the mechanical systems: open and close all doors to ensure they latch smoothly, run any internal conveyors or agitators through their full range of motion, and activate the exhaust fan to confirm proper airflow. Then, initiate a low-temperature heat cycle, raising the setpoint in small increments while closely monitoring the actual temperature readings from all zones. Significant differences between setpoint and actual temperature, or large variations between zones, indicate a problem with sensor placement, heating element connections, or insulation that was disturbed during the move.
Post-Relocation Performance Monitoring and Break-In Period
For the first ten production cycles after the move, treat the furnace as if it were brand new. Use lighter-than-normal screw loads and avoid running back-to-back high-temperature cycles. This gentle break-in period allows the internal components to settle into their new position and thermal expansion patterns. Monitor energy consumption, heating time, and final cleaning quality for each of these initial runs, comparing them to the performance logs from the previous location. Any consistent deviation is a clue that something in the system is not yet operating optimally.
Listen carefully for any new or unusual sounds during operation. A faint hum or vibration that was not there before could indicate a fan motor mount that was slightly bent during lifting, or an internal component that is now resonating at a different frequency in the new building. Track down the source of any new noise immediately; often, it is a simple fix like tightening a mounting bolt or adjusting a flexible duct connection, but ignoring it can lead to accelerated wear or component failure.
Establish a condensed maintenance schedule for the first month after relocation. Check all critical fasteners, electrical connections, and fluid lines once a week, as they are most likely to work loose during this initial settlement period. After the first month, if no issues have arisen, you can return to the standard maintenance interval. This focused attention in the immediate post-move period catches the vast majority of relocation-related issues before they can affect production quality or cause unplanned downtime. Keep a dedicated log for this break-in period, noting any adjustments made, so you have a complete record of the furnace’s condition in its new home.



