
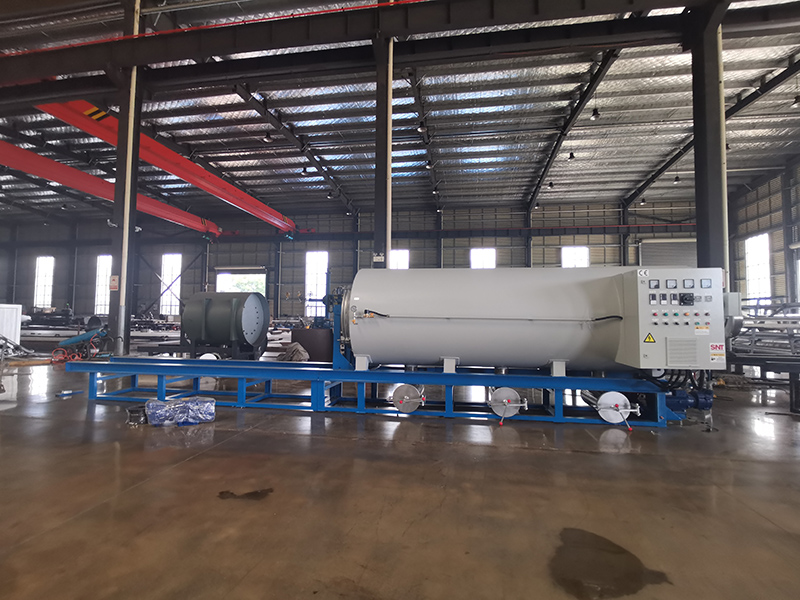
Methods for Cleaning Dust from Screw Cleaning Furnace Air Intakes
Initial Isolation and Dry Cleaning Procedures
Start by turning off the furnace and disconnecting it from the main power supply. This is a critical safety step, as the air intake system may be connected to fans or sensors that could activate unexpectedly. Locate the primary air intake grille or duct opening, which is usually on the side or rear of the furnace cabinet. Place a drop cloth or a large tray underneath the work area to catch any falling dust and debris, making the cleanup process easier and preventing contaminants from spreading.
Remove the outer intake grille or cover. This is typically held in place by several screws or quick-release clips. Set the fasteners aside in a small container so they are not lost. With the cover off, you will see a coarse mesh pre-filter or a set of louvers. Use a vacuum cleaner with a brush attachment to gently remove the layer of loose dust from both sides of this screen. Work from the center outward to prevent pushing dust into the edges. For stubborn dust caked onto the mesh, a soft-bristle brush (like a clean paintbrush) can be used to dislodge it before vacuuming.
Proceed to the internal air path. Behind the initial screen, there is often a more restrictive filter or a series of baffles designed to distribute airflow. Use a flashlight to inspect this area. If accessible, carefully slide out any secondary filter panels. Tap them gently over a trash bin to dislodge heavy dust, then vacuum both sides thoroughly. For fixed baffles or ducting, use a long, flexible vacuum hose attachment to reach as far into the intake passage as possible. The goal is to remove all loose particulate matter that could be drawn into the combustion chamber or onto sensitive sensors.
Deep Cleaning for Adhered Particulate and Fine Dust
If the intake surfaces have a layer of greasy or oily dust that does not come off with dry vacuuming, a damp cleaning method is necessary. Prepare a solution of warm water and a few drops of a mild, non-foaming detergent. Dampen a soft, lint-free cloth—do not soak it. Wring it out until it is just slightly moist. Wipe the accessible metal surfaces of the intake duct, working in one direction to avoid simply redistributing the grime. Change the cloth frequently as it becomes dirty. It is vital that no excess liquid drips into the furnace interior or onto electrical components.
For intricate mesh filters or components that can be removed, consider an immersion clean. Fill a basin with the same mild detergent solution. Submerge the filter and agitate it gently to loosen embedded dust. Let it soak for 10-15 minutes if heavily soiled. Rinse it thoroughly under a gentle stream of clean, lukewarm water until the water runs clear. Shake off excess water and allow the component to air-dry completely in a clean, dust-free area. Never reinstall a damp filter, as moisture will trap new dust immediately and can promote mold growth or corrosion.
Address the area immediately around the air intake. Dust often accumulates on the exterior cabinet and the floor near the intake. Wipe down these surfaces with a damp cloth. Consider the furnace’s environment; if it is in a particularly dusty area, creating a cleaner zone around the intake—perhaps by placing a mat or moving stored items—can significantly reduce the rate of filter clogging. Ensure there is at least a foot of clear space in front of the intake grille for unimpeded airflow.
Reassembly and Post-Cleaning Performance Check
Before reinstalling any filters or covers, perform a final inspection with a flashlight. Look for any tools, cloth fragments, or loose debris that may have accidentally fallen into the intake duct. Even a small object can cause a major obstruction. Ensure all components are completely dry. Check that filter seals and gaskets are intact and seated properly in their frames; a bent seal will allow unfiltered air to bypass the filter entirely.
Secure all covers and panels back into place, tightening screws firmly but not overly so, to avoid stripping the threads. Once reassembled, restore power to the furnace. Initiate the fan or blower system in a test mode if available, or run a low-temperature cycle. Stand near the intake and listen. The airflow should sound smooth and consistent. A whistling or sucking sound can indicate a remaining blockage or a panel that is not sealed correctly.
Monitor the furnace’s operation over the next several cycles. Pay attention to control panel readings related to airflow pressure or fan speed. Note if the furnace reaches operating temperatures more efficiently or if any previous error codes related to airflow disappear. A clean air intake directly impacts combustion efficiency and temperature uniformity. Mark the cleaning date on a small label near the intake or in the maintenance log. Establishing a regular schedule for this task—such as every month or every 50 operating hours—prevents severe buildup and maintains optimal furnace performance.



