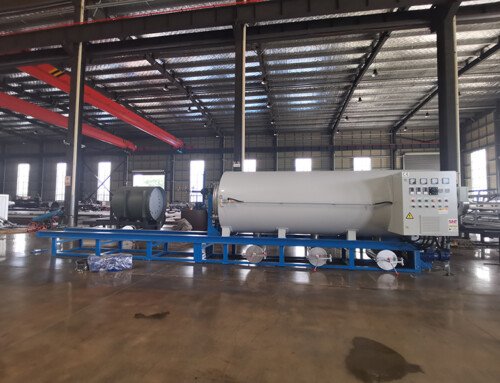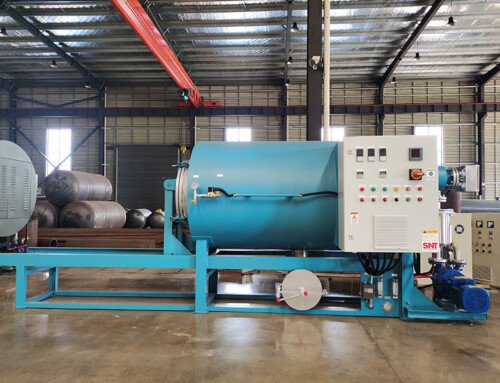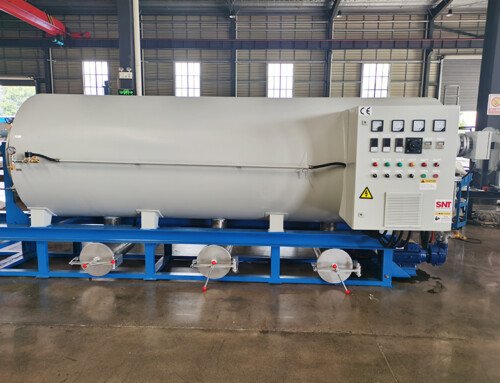
When the screw cleaning furnace finishes its full cleaning cycle, a careless or rushed discharge process can reintroduce tiny impurities, scratch precision metal surfaces or create unexpected safety risks that undo all the work you put into the cleaning step. Following a structured, step-by-step discharge routine ensures you capture fully clean material, protect the equipment and avoid unnecessary rework before the next production run.
Pre-discharge status confirmation before opening the discharge port
Before you start any discharge operation, pause the screw rotation for 2 to 3 minutes and let all loose residual carbon fragments and softened impurities settle down at the bottom of the flow channel. Check the real-time temperature readings of every heating zone, confirm the temperature stays within the range that keeps residual materials in a proper flowing state, not too low to cause partial solidification or too high to generate new degraded residues. Make sure the exhaust ventilation system is running at full power, to pull away all volatile fumes that will be released when the discharge port is opened. Place a heat-resistant, non-stick collection container directly under the discharge opening, make sure the container is large enough to hold all discharged material without overflowing or spilling hot material onto the floor.
Discharge port opening and initial residue removal
Loosen the discharge port fastening bolts slowly in a diagonal sequence, do not pull the sealing plate off all at once. When a tiny gap first appears between the sealing plate and the flange, let a small amount of internal pressure release slowly before you fully remove the plate. The first small batch of material that flows out will carry most of the loosened heavy carbon fragments and residual impurities, you should guide this initial batch into a separate waste container instead of mixing it with the clean later discharge. Use a blunt non-metallic scraper to gently clear away any hard residues stuck around the edge of the discharge port, make sure no blocked fragments will fall back into the clean flow channel later.
Controlled screw feeding for full material discharge
Restart the screw rotation at the lowest possible steady speed, never jump to a high rotation speed that will push a large volume of material out all at once. Keep the rotation speed consistent and stable, so the material flows out in a slow, uniform continuous stream. Watch the color and texture of the discharged material closely, the initial dark, impurity-rich flow will gradually turn into a fully uniform, clean state as the process goes on. Adjust the rotation speed slightly higher only when you see the discharged material shows no visible dark spots or tiny particles, this slow transition ensures no hidden residual impurities get left behind in the deep gaps of the screw flights.
Mid-process impurity check during discharge
After the first 10 minutes of discharge, take a small sample of the flowing material and press it into a thin flat sheet between two clean metal plates. Hold this sheet under a bright light to check for any tiny hidden carbon specks that are hard to see in the thick flowing stream. If you spot any scattered dark impurities, keep the screw running at low speed for another 5 to 10 minutes and continue discharging, do not stop the process early. Use a clean soft nylon brush to wipe the outer edge of the discharge port every few minutes, clear away any accumulated cooled material that could fall into the new clean discharge stream and cause secondary contamination.
Post-discharge equipment reset and site tidying
When all material is fully discharged, stop the screw rotation and close the discharge port sealing plate immediately, tighten the fastening bolts evenly following the diagonal sequence again. Turn down the temperature of all heating zones to the safe standby level, do not leave the empty barrel at high temperature for a long time which could cause oxidation on the clean screw surface. Seal all collected clean material in a labeled sealed container, mark the cleaning completion time and material status clearly on the surface of the container. Clear away all waste residues and used cleaning tools from the operation area, wipe any spilled hot material off the equipment surface and the floor to avoid burn risks for later operators.
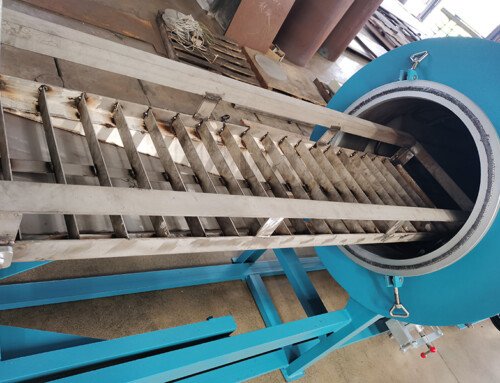
Final flow channel inspection after discharge
After the equipment cools down to a proper safe temperature, open the small access inspection door near the discharge section to check the inner wall of the flow channel. Confirm no residual material fragments are stuck in the hidden corners near the discharge port, and the inner metal surface shows a smooth, clean state without any leftover carbon buildup. Record the total discharge time, the volume of collected clean material and any abnormal impurity conditions you observed during the process in the equipment operation log. This clear record will help you set a more accurate discharge time reference for all future cleaning cycles, making the whole process more efficient and predictable.