
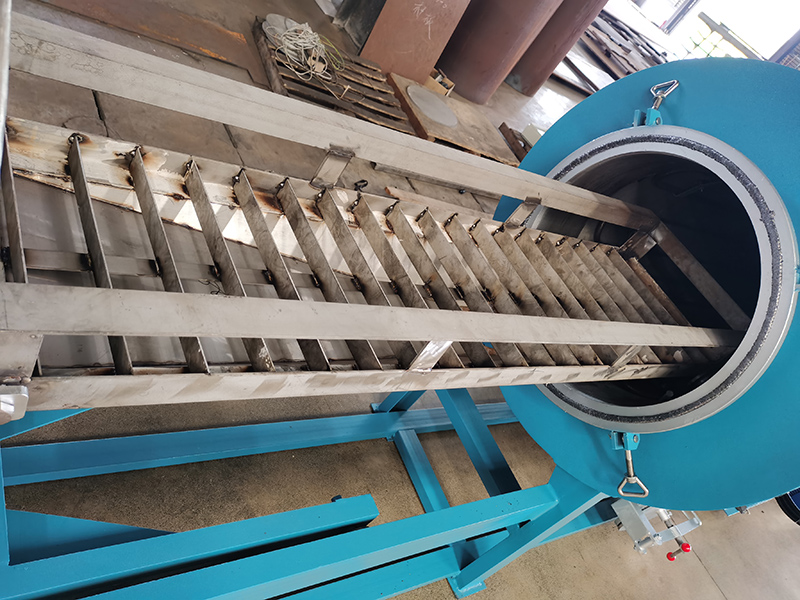
A full-scale deep cleaning process for the entire screw cleaning oven is a structured multi-stage operation that reaches every hidden surface, removes years of accumulated residue and restores the equipment to near-original performance levels. This thorough approach requires careful planning, dedicated tools and a step-by-step workflow that covers all major components in a logical sequence.
Pre-cleaning shutdown and component removal sequence
Fully disconnect all main power supplies, auxiliary power lines and connected control cables from the equipment, and lock out every power switch with a physical safety tag before starting any work. Confirm the entire oven chamber and all internal components have cooled down completely to room temperature, to avoid accidental burns and to prevent sudden temperature changes that could warp metal parts during cleaning. Start by removing the screw assembly from the chamber and placing it on a separate workbench, to give you full unobstructed access to the inner cavity. Next, detach all removable racks, trays and internal mounting brackets that block access to hidden corners and back wall surfaces. Carefully remove any temperature sensor probes and protective covers that can be detached without specialized tools, and set these sensitive components aside in a clean, dust-free container. Finally, use a portable high-intensity light to inspect every hidden corner, seal gap and ventilation duct inside the empty chamber, and mark any spots with heavy residue buildup for extra attention during the cleaning stage.
Detailed cleaning stages for each major component group
Begin with the screw assembly itself, using a combination of dry brushing, targeted scraping and low-pressure air blowing to remove all loose surface debris. For stubborn carbonized deposits that stick tightly to the threads, apply a small amount of specialized cleaning gel and let it sit for the exact recommended time before scrubbing gently with a soft nylon brush. Move on to the oven chamber interior, starting from the top inner surface and working your way down to the floor. This top-down approach stops dislodged debris from falling onto already cleaned lower sections. Use non-abrasive plastic scrapers for thick residue on flat walls, and soft bristle brushes for curved surfaces and narrow gaps around heating elements. For the heating tubes, gently wipe each tube with a barely damp lint-free cloth to remove fine dust and light grease, taking extra care not to bend or scratch the metal sheath. Clean all removed racks, trays and brackets in a separate cleaning station, using mild detergent and warm water to dissolve baked-on residue, then rinse and dry them fully before moving to the next step. Finally, focus on all ventilation ducts, fan blades and air flow channels, using long flexible brushes and low-pressure air to dislodge packed dust that blocks proper air circulation.
Reassembly verification and post-cleaning testing
Inspect every component under bright light after cleaning to confirm no residue, cleaning agent or moisture remains on any surface. Check all screw threads, mounting points and connection interfaces for any signs of wear or damage that may have been hidden under old residue. Begin reassembly by reinstalling all internal brackets, racks and trays in their original positions, making sure each part sits flush and secure without forced alignment. Reinstall the screw assembly carefully, following the original alignment marks to avoid putting any stress on the drive mechanism. Reconnect all temperature sensors, protective covers and electrical connections, and double check that every connection is tight and properly seated. Before restoring full power, leave the oven door open and let all components air out for at least one hour to ensure any last traces of moisture evaporate completely. Run a series of short test cycles starting at low temperature and gradually increasing to normal operating heat, monitoring for any unusual noises, smells or performance issues at each stage.
Document every step of the process in your maintenance log, including any unusual residue patterns or minor wear spots you noticed during the cleaning. This detailed record helps you track the equipment condition over multiple deep cleaning cycles and plan future maintenance more effectively.



