
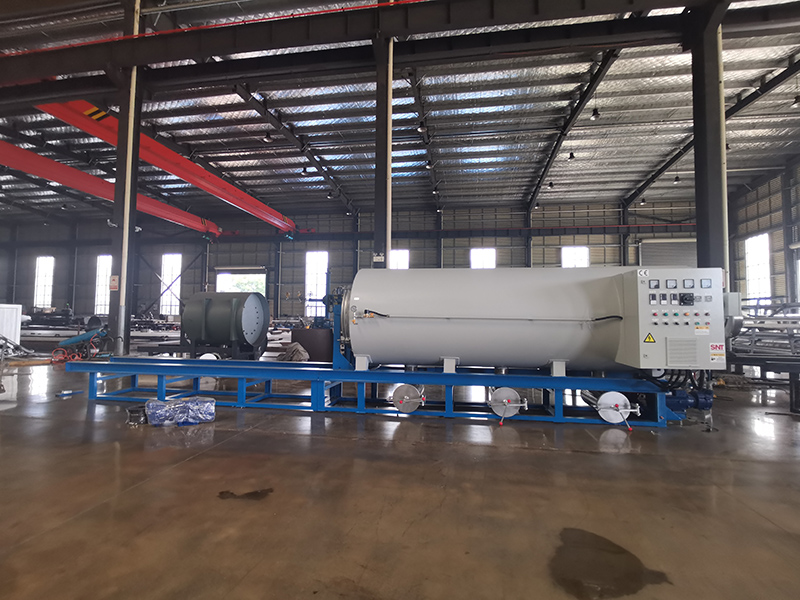
Hidden debris trapped in hard-to-reach dead zones of a screw cleaning oven can quietly undermine cleaning results, reduce equipment efficiency and create unexpected safety risks if left unaddressed for long periods. Targeted, careful removal of these overlooked spots ensures the entire equipment runs at its full designed performance level without hidden flaws.
Pre-cleaning preparation for dead zone access
Fully disconnect the main power supply and confirm the oven chamber and all internal components have cooled down completely to room temperature before starting any work. Prepare a well-lit work environment with portable task lighting that can be directed into narrow, shadowed corners to spot tiny debris that regular overhead lights miss. Remove all easily accessible main components including the screw assembly, racks and removable trays first, to clear a wide open path to the usually hidden dead zones. Lay down a protective mat around the equipment base to catch falling debris, so no loose particles get swept into other unrelated workshop areas during the process. Put on thin, flexible work gloves that let you feel small trapped particles through the material, without losing dexterity when reaching into narrow gaps.
Targeted debris removal for typical hidden dead zones
Start with the narrow gap between the oven chamber inner wall and the outer edge of the heating element, where fine dust and melted residue often get pushed during regular operation. Use a slender, non-abrasive flexible tool to work along the full length of this gap, gently dislodging packed debris without bumping or damaging the heating element surface. Next, focus on the threaded connection points on both ends of the screw assembly, where tiny particles get trapped in the thread crevices even after standard scrubbing. Twist a soft, lint-free cloth along the threads to pick out every last hidden fragment, and use a thin pointed brush to work through the deepest sections of the thread grooves. Move on to the seal gaps around the oven door frame, where old hardened residue builds up in the tiny crevices of the gasket over months of repeated opening and closing. Run a soft plastic pick along the full perimeter of the seal to lift out trapped debris, taking extra care not to tear or stretch the flexible gasket material. Finally, clear the small ventilation ducts at the bottom and back of the oven, where loose debris often accumulates and blocks proper air flow. Use low-pressure dry compressed air to blow from the inner side of the duct toward the outer opening, so all trapped dust is pushed out instead of being driven deeper into the ventilation system.
Post-clearance verification and follow-up checks
Shine the portable task light into every previously cleaned dead zone at multiple different angles, to double check no stray debris or small fragments are left behind. Run a clean dry cloth along the edge of each gap you worked on, and inspect the cloth surface closely to confirm no new residue shows up after the pass. Wipe down the outer surface of all removed components before reinstalling them, to make sure no leftover debris stuck to their edges gets carried back into the cleaned chamber. Reconnect the power supply and run a short no-load test cycle at low temperature, then open the oven door halfway to check that no loose debris is being blown around by internal air flow. Add these specific dead zones to your regular maintenance check list, so your team will not overlook them during the next scheduled cleaning session.
Take extra time to check the small gaps around temperature sensor probes, as these spots often collect fine debris that can throw off temperature readings over time. Even a tiny amount of trapped buildup near the sensor can create inaccurate data that makes the whole oven run at the wrong working temperature for weeks without anyone noticing.


