Why Controlled Thermal Stripping Is Preferred for Electric Motor Stator Varnish Removal
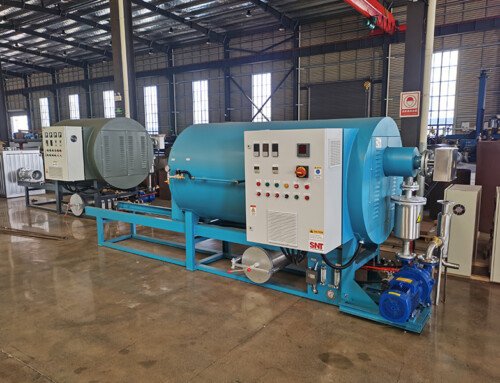
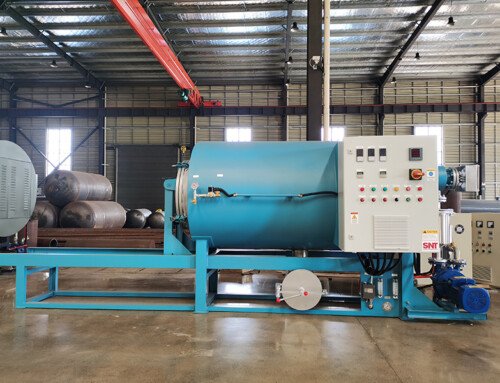
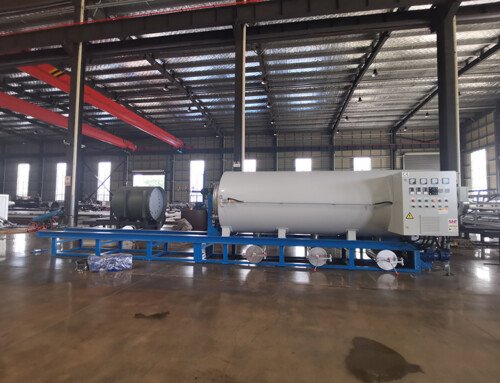
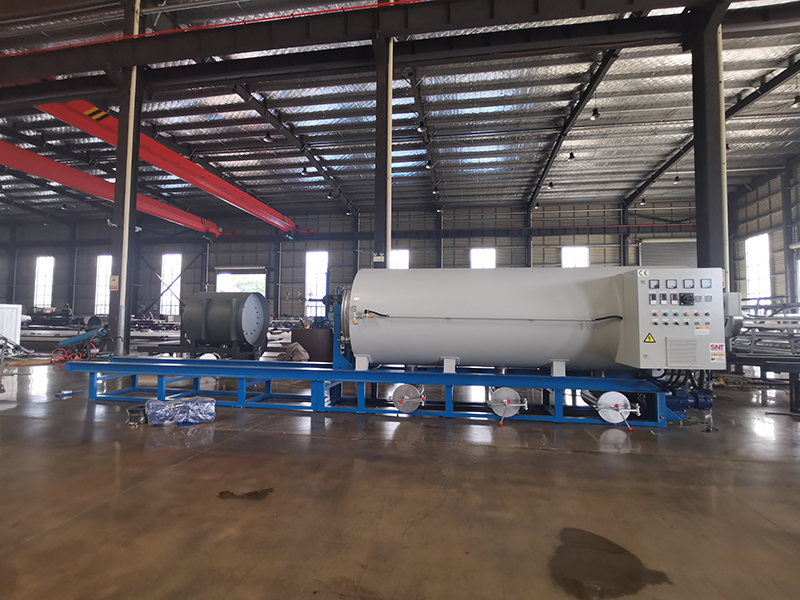
Stator windings coated with thick, cured insulating varnish create a major challenge during motor repair and rewind work, as traditional manual scraping or harsh chemical dipping methods risk damaging the delicate underlying copper wire and thin metal laminations. Even small scratches on the lamination surface can increase eddy current losses, while excessive physical force can bend or break fine copper strands hidden deep inside the winding slots. Burn off ovens use precisely regulated thermal decomposition to break down the fully cured varnish layer into dry, removable ash, without the aggressive mechanical effort or corrosive chemical exposure that often introduces hidden damage. This process penetrates every narrow gap between windings and deep inside stator slots, breaking down even the most heavily aged, heat-hardened varnish that would resist all manual cleaning attempts. When calibrated correctly, it leaves the base metal of the stator core and copper windings completely unaltered, preserving the original electrical properties that define the motor’s performance.
Stator Pre-Loading Preparation to Avoid Unintended Damage
Before placing any stator into the burn off oven, remove all external hardware, bearing housings, terminal blocks, and temperature sensors that cannot withstand the full processing temperature. Cover all exposed machined mounting surfaces and threaded connection points with high-temperature protective wraps, to prevent fine ash and decomposed varnish residue from settling into threads or scratching precision ground alignment faces. If the stator has any remaining rubber or plastic lead wire insulation, strip those sections away completely before loading, because these low-melting materials can drip and leave hard, carbonized deposits that are far harder to remove than the target varnish. Position the stator vertically or on a dedicated low-contact support rack inside the chamber, so no heavy flat lamination surface sits directly against a solid metal shelf that could trap heat unevenly and create localized hot spots. This careful positioning ensures heat circulates uniformly around every section of the stator, so no part of the unit sees higher temperatures than the intended process set point.
Cycle Calibration Techniques to Prevent Core Degradation
Start every stripping cycle with an extremely gradual heat ramp, to slowly bring the chamber and stator core up to a low pre-hold temperature. This initial low-temperature soak melts the lowest molecular weight components of the varnish, letting them drain freely away from the windings before any thermal decomposition begins. This step prevents sudden, rapid vaporization that could create pressure buildup deep inside the slots, pushing fine particles of half-burned varnish into gaps that are hard to clean later. Once all free-flowing molten varnish has drained out, raise the chamber temperature to the controlled decomposition set point, and maintain a carefully limited oxygen level inside the chamber to prevent open, uncontrolled combustion. Track both the chamber air temperature and the stator core temperature independently throughout the full cycle, to make sure the core never exceeds the threshold that would alter its carefully engineered magnetic properties. This dual-temperature monitoring is the most reliable way to guarantee the stator’s electrical performance stays completely unchanged after the stripping process finishes.
Post-Processing Stator Cleanup and Performance Verification
Once the full cycle completes, let the entire chamber and stator cool down slowly and evenly to a safe handling temperature, never using forced cold air to speed up the cooling process. Sudden rapid temperature shifts can create thermal stress between the copper windings and steel laminations, loosening the tight fit between components that is critical for low-vibration, reliable motor operation. Once the stator is cool to the touch, use a soft bristle non-abrasive brush to wipe away all dry ash from the end windings, then blow low-pressure, clean filtered compressed air through every stator slot to dislodge all remaining fine ash particles. After all ash is fully removed, perform a quick initial electrical test to confirm no hidden damage to the core or winding conductors occurred during the thermal process. This final check verifies the varnish stripping work was fully successful, and the stator is ready for the next stage of rewind or repair work without any hidden performance issues.