Why Burn Off Ovens Are Ideal for Extrusion Die Polymer Removal
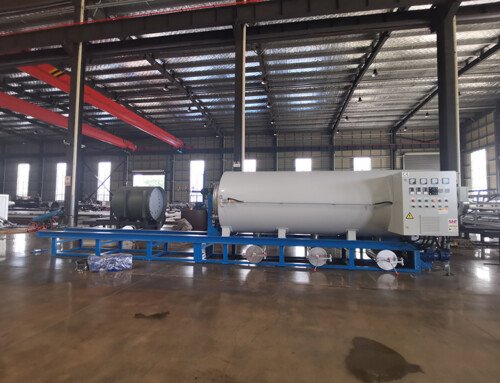
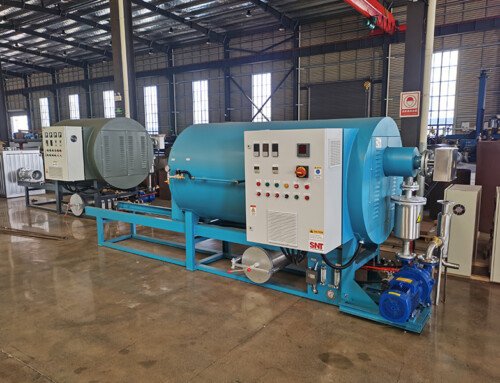
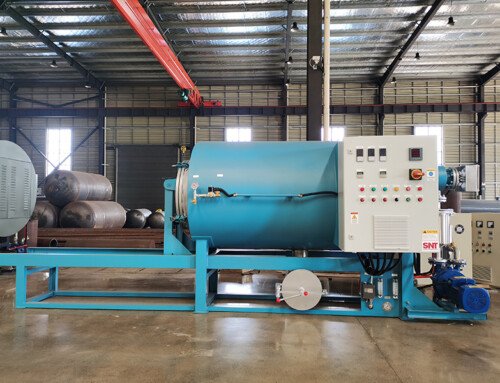
Extrusion dies build up thin, stubborn layers of degraded polymer deep inside narrow flow channels over hundreds of hours of production runs. These residual polymer deposits do not just reduce final product quality, they also trap small amounts of carbonized material that can break loose mid-run and create defects in every part that passes through the die. Traditional manual scraping and solvent cleaning methods often fail to reach the most intricate, hidden sections of the die, and harsh chemical treatments can pit or corrode precision polished flow surfaces over repeated use. Burn off ovens work by breaking down accumulated polymer through controlled, low-oxygen thermal decomposition, turning even the most caked-on, carbonized residue into fine, easily removable ash without aggressive mechanical scrubbing that risks scratching critical die surfaces. This process reaches every hidden crevice, narrow flow path, and threaded opening that would be almost impossible to access with hand tools.
Pre-Treatment Die Preparation Before Loading Into the Oven
Before placing any extrusion die into the chamber, remove all non-metal components, including thermocouple sleeves, seal elements, and any soft inserts that cannot withstand the target treatment temperature. Wipe off all large, loose chunks of surface polymer with a soft metal brush to prevent excess melted material from dripping onto the oven chamber floor during the initial heating phase. Cover all threaded openings and precision ground reference surfaces with high-temperature protective caps made of material compatible with the oven’s maximum operating temperature. This prevents fine ash and decomposed polymer residue from settling into threaded threads or scratching carefully calibrated alignment surfaces during the treatment cycle. Document the exact orientation of the die inside the oven, so no heavy unsupported sections hang in a position that could cause subtle thermal warping when the metal heats up to process temperature.
Controlled Cycle Parameters to Protect Die Integrity
Start every cycle with a slow, gradual heat ramp that brings the chamber temperature up to a low pre-heat holding point, to soften and melt the lowest molecular weight polymer fractions before they can vaporize rapidly and create excess smoke. This slow ramp prevents sudden, violent bubbling of trapped molten polymer that could spatter and re-solidify in unwanted spots on the die surface. Once all free-flowing molten material has drained away from the die, raise the chamber temperature to the controlled decomposition set point, and maintain a carefully balanced low-oxygen atmosphere inside the chamber to prevent uncontrolled combustion. Hold the die at this stable temperature long enough for every layer of residual polymer, even the heavily carbonized deposits deep in the smallest flow channels, to break down completely into dry, powdery ash. Avoid pushing the temperature far above the recommended processing range for the die’s base metal, because excess sustained heat can alter the die’s carefully stress-relieved temper and cause permanent dimensional shift that ruins its precision calibration.
Post-Process Die Handling and Final Cleanup
Once the full cycle completes, let the oven cool down completely to a safe handling temperature before opening the chamber door, to avoid exposing the hot die to sudden, uneven room temperature air flow that could create thermal stress. Remove the die carefully, and use a soft non-abrasive wire brush to wipe away the fine dry ash from all external surfaces. Blow compressed low-pressure clean air through every flow channel and opening to dislodge all remaining loose ash particles that are trapped deep inside narrow passages. For any small spots of leftover stubborn ash residue, use a gentle chemical cleaning solution that is safe for the die’s metal material to dissolve and lift away the remaining traces without scratching polished surfaces. Inspect every flow path with a bright light to confirm no residual polymer or ash remains, before moving on to re-polishing and reassembly work to return the die back to production-ready condition. This final step ensures no leftover contamination will break loose and ruin your next production run.