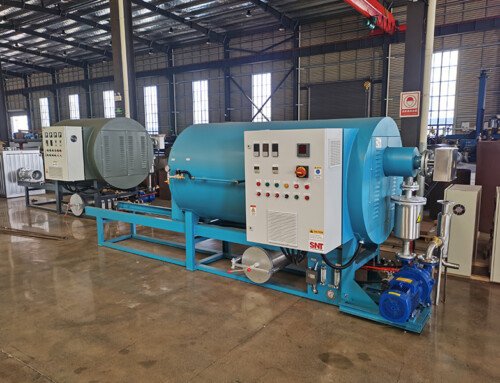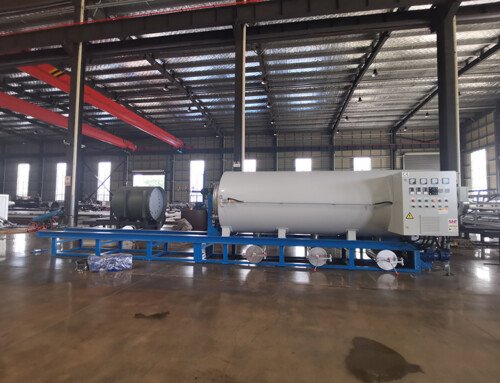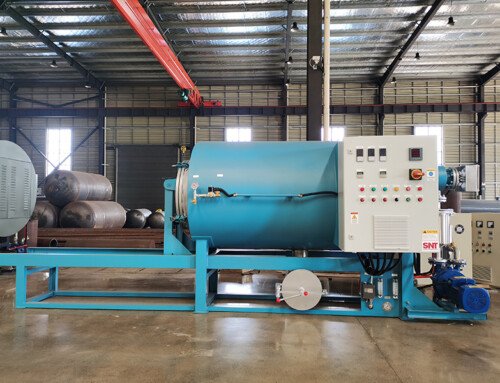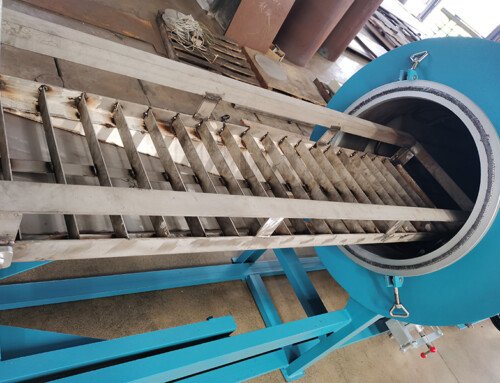
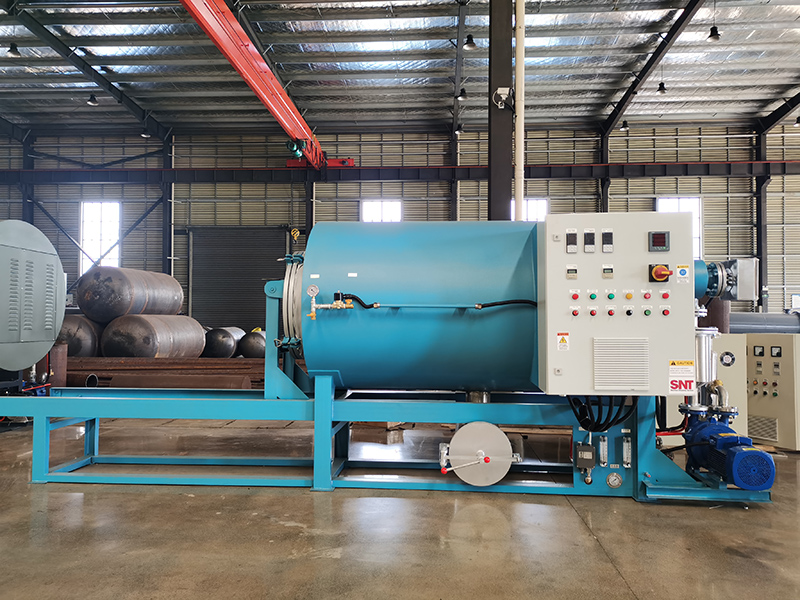
Using a burn off oven to clean injection molding screws removes the risk of mechanical damage that comes from manual scraping, chemical soaking, or open-flame heating methods. It breaks down hardened plastic residue, carbonized buildup, and trapped colorant that has been baked onto the screw flights over hundreds of production hours, without the uneven, localized overheating that warps screw geometry or softens critical hardened surface layers. This method has become a standard step for facilities that run frequent color changes, process high-temperature engineering resins, or need to restore severely fouled screws that regular resin purges cannot fully clean.
Follow strict pre-treatment preparation before placing any screw inside the chamber.
You cannot just pull a hot screw straight from the injection barrel and slide it into the burn off oven. First, use a low-viscosity purge material to push out all free, molten plastic from the screw flights while the component is still warm. This removes the bulk of loose material before the thermal cleaning cycle starts, reduces the total amount of volatile fumes released during the process, and prevents thick pools of molten plastic from dripping onto the chamber floor and creating unnecessary residue buildup.
Once the screw cools down to a safe handling temperature, wipe off any large, soft chunks of leftover plastic with a non-abrasive cloth, and cover any critical bearing surfaces or threaded connection points that do not need full thermal cleaning. This prevents fine carbon ash from sticking to precision machined areas that would otherwise require extra post-cycle cleanup, and it protects tight tolerance features from unnecessary exposure to prolonged high heat.
Run a staged thermal cycle that avoids sudden temperature spikes.
Many new operators make the mistake of cranking the chamber up to maximum temperature immediately, but this creates more problems than it solves. A rapid heat surge can cause trapped plastic on the inner core of the screw to boil and expand quickly, which can create unexpected pressure buildup inside small gaps and even cause minor surface deformation on older, worn components.
Start the cycle at a low initial temperature that sits just above the melting point of the lowest temperature resin trapped on the screw. Hold this temperature long enough for all soft, low-melting polymer to slowly liquefy and drain off the flights without burning. Then ramp the temperature up gradually to reach the controlled pyrolysis range, where all carbonized residue will break down into fine, dry ash without scorching or discoloring the base metal of the screw itself. This staged profile ensures every layer of buildup breaks down evenly, from the soft surface residue all the way to the thin, stubborn carbon layer that has adhered directly to the screw’s metal surface.
Complete proper post-cycle handling to restore the screw to production-ready condition.
When the thermal cycle finishes, do not yank the screw out of the chamber and hit it with a high-pressure washer immediately. Let the component cool down completely in a controlled, low-oxygen environment inside the chamber first. Sudden exposure to open air while the screw is still extremely hot can cause rapid, uneven oxidation across the entire metal surface, which creates a rough, discolored finish that will trap new residue far faster the next time you run production.
Once the screw reaches room temperature, use a soft brass brush or low-pressure dry air blast to wipe away the fine, leftover ash from every flight, root, and groove. Inspect the entire length of the screw carefully to confirm no trace of leftover carbon or polymer remains, and check for any unexpected discoloration or warping that might have occurred during the cycle. A thin coat of high-temperature anti-seize compound on the threaded ends and mounting points will make sure the screw slides smoothly back into the injection barrel, and prevents galling when you reinstall it for production.
Add routine burn off oven cleaning to your regular screw maintenance schedule, instead of only using it when a screw is completely fouled and unusable. Running this process after every 500 to 1000 production hours, depending on the materials you process, prevents heavy carbon buildup from ever getting thick enough to permanently damage the screw’s hardened surface. This extends the usable service life of your screws significantly, and cuts down on the time you spend fighting black specks, streaks, and inconsistent melt quality after material or color changeovers.