
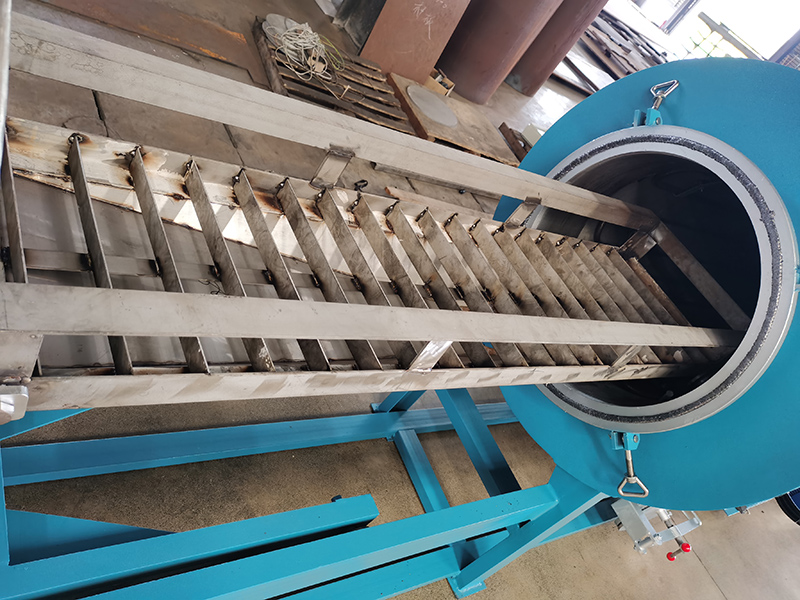
Proper moisture-proof floor placement for the screw cleaning furnace eliminates a long list of hidden operational issues that can creep up slowly over months of regular use. Even small oversights in placement can expose critical internal components to rising ground dampness, seasonal condensation, and accidental water spillage that gradually erode performance and shorten the equipment’s reliable service life. These practical, field-tested placement techniques create a stable, dry base environment that keeps the unit running consistently, even in facilities that deal with high seasonal humidity or occasional floor water buildup.
Pre-placement ground surface preparation
Before the unit is moved into its final position, targeted surface work removes the most common hidden moisture risks that most teams overlook during initial setup.
Concrete floor sealing and drying
The section of floor where the unit will sit must be fully cured, dry, and sealed to block capillary moisture that seeps up through bare concrete over time. Any residual construction moisture, old spill stains, or uneven patches on the floor are cleaned and leveled first, so no trapped damp pockets remain directly under the footprint of the equipment. This step stops slow, unseen moisture migration that can go unnoticed for months until it starts affecting internal electrical and heating components.
Underlying anti-moisture barrier layering
A continuous, tear-resistant anti-moisture barrier is laid across the entire prepared floor area, extending 10 to 15 centimeters past every edge of the equipment’s base. This barrier creates an impermeable break that blocks liquid water and water vapor from reaching the bottom casing of the unit, even if nearby floor cleaning, pipe leakage, or seasonal condensation leaves a thin layer of moisture across the surrounding floor surface.
Elevated load-bearing base construction
Once the moisture barrier is fully secured, a structured elevated base lifts the entire unit off the ground to add a second critical layer of damp protection.
Uniform load distribution support
The elevated base is engineered to spread the full weight of the unit evenly across every contact point, so no single corner or edge bears concentrated pressure that could cause tilting or structural deformation over time. The top surface of the base must stay perfectly level, with no uneven spots that would disrupt the unit’s internal balance during long operating cycles. This level, stable foundation also prevents minor structural stress that could create small gaps in the bottom casing where moisture could seep upward.
Bottom ventilation gap preservation
The design of the elevated base leaves a continuous open air gap between the bottom casing of the screw cleaning furnace and the top of the floor moisture barrier. This open space lets air circulate freely under the unit, preventing stagnant, high-humidity air from being trapped against the bottom metal panel. Even if the surrounding warehouse or workshop experiences a sudden spike in ambient humidity, this consistent cross-ventilation stops condensation from forming on the underside of the equipment.
Perimeter environment and ongoing placement maintenance
After the unit is set in its final position, small ongoing checks and environmental adjustments keep the moisture-proof placement working reliably through all seasonal shifts.
Surrounding hazard zoning
A clear buffer zone is marked around the entire perimeter of the unit, keeping it at a safe distance from nearby water pipes, floor drains, wet cleaning stations, and open windows that face toward frequent rain or high-humidity prevailing winds. This zoning prevents accidental water splashes, pipe condensation drips, or wind-driven rain from ever reaching the base of the unit, eliminating the most common external moisture threats at their source.
Scheduled placement condition spot checks
At regular monthly intervals, operations teams inspect the area under and around the unit to confirm the air gap stays clear of dust buildup, stray debris, or pooled moisture. They also verify that the unit has not shifted out of level, and that the moisture barrier under the base remains fully intact with no tears or punctures that could create a new path for dampness to reach the equipment. These quick, low-effort checks catch small issues long before they develop into costly internal moisture damage.
These straightforward placement techniques require no complicated modifications, but they create a layered defense system that drastically reduces the risk of moisture-related operational failures. Teams that follow these steps consistently will find their unit runs with far fewer unexpected faults, and maintains steady, reliable performance across years of regular use.


