
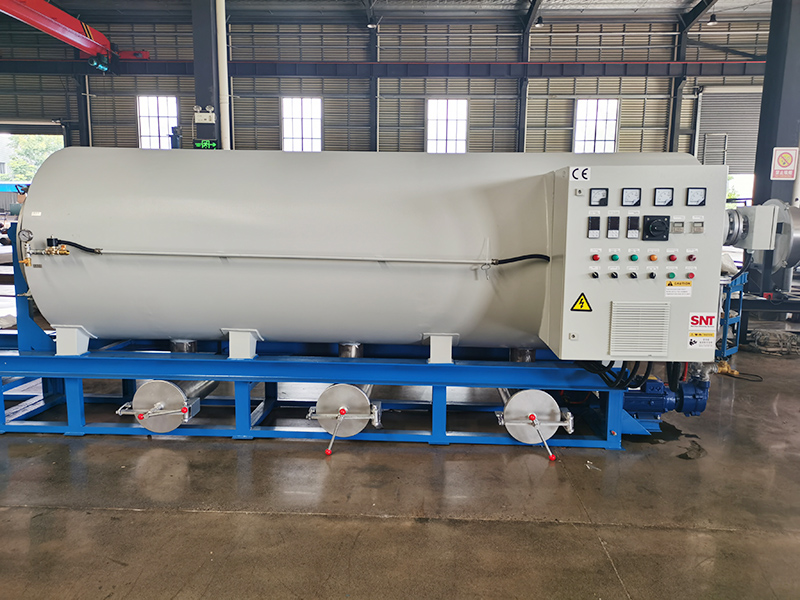
Before any physical operation begins, the entire site team should walk through every part of the system and confirm all pre-installation conditions are fully met. This is not a quick formality, but a critical check that prevents most avoidable issues later in the commissioning process.
Pre-commissioning site and system verification
Start with a full visual inspection of the surrounding area, making sure no loose debris, leftover construction materials or unrelated tools are left near the equipment. Check all connection points, wiring routes and safety access paths to confirm they are clear and unobstructed. Next, verify that all utility supply lines are properly connected, with no loose joints, misaligned seals or unexpected bends that could restrict flow during operation. Confirm every safety interlock, pressure sensor and temperature feedback device is securely mounted and shows stable baseline readings before you move on to the next step.
Initial power and auxiliary system test
Never jump straight to full system heating at this stage. First, energize the control panel alone, without activating the main heating circuit, and let it run for at least one full hour. Watch how the control logic responds to basic input commands, check that indicator lights behave as expected, and confirm all alarm triggers send out correct signals when manually activated. After that, start every auxiliary subsystem individually, from the ventilation units to the circulation loops, and let each one run for 30 to 45 minutes. Listen for unusual noise, track motor temperature changes, and make sure no unexpected vibration or leakage appears at any connection point.
Gradual temperature ramp-up and empty run validation
Once all auxiliary systems have passed their independent tests, you can begin the first low-temperature heating cycle. Set the initial target temperature well below the normal operating range, hold that value steady for two hours, and record how the actual temperature reading changes across different zones. This slow ramp allows the entire system to expand evenly, avoiding sudden thermal stress that could damage internal components. After the low-temperature hold, raise the setpoint in small, incremental steps, pausing at each level long enough for all temperature points to stabilize. Run multiple full empty cycles through the complete temperature profile, and keep detailed notes on every minor deviation in timing, heat distribution or system response that you observe.
First material loading and process parameter fine-tuning
When the empty run results show consistent and predictable performance across all cycles, you can proceed to the first real material loading phase. Do not load the full working volume right away; start with a partial load that is roughly 30 percent of the maximum capacity. Run through a complete standard cycle, and closely monitor how temperature, airflow and system dynamics adjust under actual working conditions. After this first cycle finishes, inspect the output quality, note any uneven performance across different sections, and make small targeted adjustments to timing, heat distribution and flow settings. Repeat this process with gradually increasing load sizes, refining the parameters each time until the system delivers uniform, stable results across the full working range.
Continuous stability run and on-site operation documentation
Once the process parameters are locked in and producing consistent results, launch a multi-hour continuous stability test under full load conditions. Keep operators on site to log every key data point at regular intervals, including temperature readings, system cycle times, alarm events and any minor adjustments made during the run. This extended test will reveal subtle performance drifts that short single cycles cannot catch. When the full stability run completes without unexpected faults, work with the on-site operating team to map out the exact step-by-step workflow for standard startup, routine operation, normal shutdown and common minor issue handling. Make sure every operator who will work with the system can walk through these procedures independently before the commissioning team signs off on the handover.



