
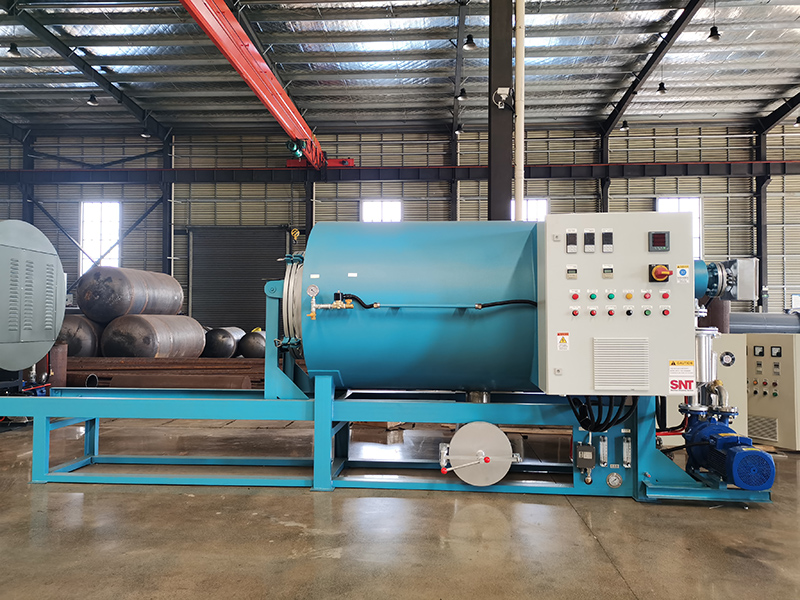
Screw cleaning furnace seal leakage is a common but high-risk issue in industrial thermal processing operations, and it can lead to unexpected heat loss, flammable vapor escape, and unplanned production downtime if left unaddressed. Many plant operators overlook early warning signs of this fault, which often turns a minor maintenance task into a costly safety incident that disrupts entire production schedules.
Common root causes of seal leakage in screw cleaning furnaces
Most seal-related air or gas leaks in these systems stem from long-term operational wear, improper installation, or unaddressed thermal stress that builds up over thousands of heating and cooling cycles. The sealing gaskets between the rotating screw shaft and the furnace shell often degrade after repeated exposure to high temperatures, chemical residues from cleaning materials, and constant mechanical friction from the rotating shaft. Over time, these gaskets develop tiny cracks, harden, or lose their elasticity, creating small gaps that allow internal furnace gas to seep out into the surrounding work area.
Misalignment between the screw shaft and the furnace end plate is another frequent cause. When the shaft drifts off its original center position due to long-term vibration or uneven load distribution, it creates uneven pressure on the entire sealing surface. Some sections of the seal get crushed under excessive force while other sections stay completely loose, forming clear leakage paths that get worse with every operating cycle. Improper previous maintenance work, like using the wrong seal material or tightening the end plate bolts unevenly, can also create hidden gaps that slowly develop into full leakage points after the furnace runs at high temperature for extended periods.
Step-by-step on-site inspection to locate exact leakage points
You do not need complex specialized tools to find most seal leakage points, and a systematic inspection process can help you pinpoint the exact source in a short time without unnecessary disassembly. Start the inspection when the furnace is running at its normal operating temperature, because many small gaps only open up when all metal parts expand fully under working heat. First, check all visible sealing joints around the screw shaft inlet and outlet, and watch for faint wisps of hot gas, discolored dust buildup, or small burnt marks on the outer surface of the furnace shell that mark where gas has been escaping for a long time.
You can use a small piece of soft tissue paper held near suspected gaps to spot even very tiny leaks, as the escaping gas will pull the paper toward the leakage point immediately. For hidden gaps that are hard to see directly, you can use a small amount of soapy water applied to the sealing surface, and watch for consistent bubble formation that clearly marks the exact position of the leak. Pay extra attention to the sealing points near the furnace’s high-temperature zone, because these areas face the most extreme thermal stress and are far more likely to develop leakage issues than cooler sections of the system.
Practical repair methods and long-term preventive measures
Once you have located all leakage points, you can carry out targeted repairs that fit the actual working condition of your furnace, without replacing the entire sealing system unnecessarily. For minor leaks caused by loose bolts or uneven pressure on the sealing surface, you can retighten the end plate bolts in a diagonal sequence, applying even torque across all connection points to make sure the entire seal gets consistent, uniform pressure. This simple step can fix a large number of small leakage issues without any extra part replacement.
For leaks caused by hardened or cracked sealing gaskets, you can remove the old damaged seal carefully, clean all contact surfaces completely to get rid of old residue and rust, and install a new high-temperature resistant seal that matches the exact size and working temperature range of your furnace. After the new seal is installed, run the furnace through three full slow heating and cooling cycles to let the new seal settle into its working position, and recheck all sealing points for leaks before putting the system back into full production. To prevent this fault from happening again, add a monthly seal inspection to your regular maintenance schedule, check the shaft alignment every six months, and keep a detailed log of all seal condition checks to track wear trends over time. This small amount of regular preventive work can help you catch early signs of seal degradation long before they develop into serious, production-stopping leakage failures.

