
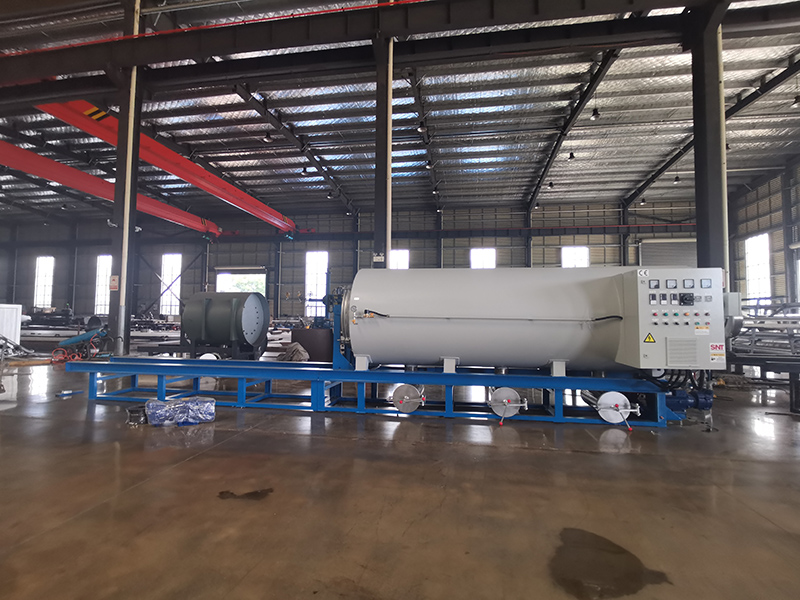
Screw Cleaning Furnace Temperature Instability Troubleshooting
Initial Operational and Environmental Checks
Begin by verifying the stability of the incoming electrical power supply to the furnace control cabinet. Use a power quality analyzer to check for voltage sags, surges, or harmonic distortion that can cause the temperature controller to receive erratic signals or cause heating elements to receive inconsistent power. Fluctuations exceeding the controller’s specified input tolerance, often around +/- 10% of the nominal voltage, will directly translate to unstable temperature readings and poor control performance.
Check the ambient temperature and airflow around the furnace enclosure. External factors like a nearby open door, a recently activated air conditioning vent blowing directly on the unit, or exposure to direct sunlight can create localized cooling or heating that interferes with the furnace’s own internal temperature sensors. Ensure the furnace is installed in a location with stable ambient conditions and that cooling fans or ventilation slots are not obstructed, which can lead to internal hot spots and sensor confusion.
Confirm the furnace is not being overloaded beyond its thermal capacity. Adding a large batch of cold, wet screws or parts with high thermal mass can cause a sudden, significant temperature drop that the controller’s standard heating rate cannot immediately compensate for, leading to observed instability. Review the load size, initial part temperature, and loading frequency against the furnace’s rated heating recovery capacity to identify any process-related thermal shocks.
Sensor and Control Loop Diagnostics
Inspect the primary temperature sensor, typically a thermocouple or RTD, for physical damage, oxidation, or loose connections. A degraded sensor can provide noisy, delayed, or inaccurate readings to the controller, causing it to over-correct or under-correct constantly. Perform a comparative test by inserting a calibrated, independent temperature probe next to the installed sensor at a stable setpoint to identify any significant deviation or lag in the reading.
Evaluate the controller’s PID (Proportional, Integral, Derivative) tuning parameters. Incorrect PID values are a leading cause of temperature oscillation. Symptoms like the temperature consistently overshooting the setpoint and then dropping below it in a regular cycle indicate poor tuning. The integral (I) term may be too low to correct for steady-state error, or the derivative (D) term may be too high, causing an overreaction to minor changes. Access the controller’s autotune function or manually adjust parameters based on the observed oscillation period.
Test the control output to the heating elements. Using the controller’s manual output mode or a multimeter, check if the solid-state relay (SSR) or contactor is receiving a stable control signal from the controller. A flickering or intermittent signal will cause the heating elements to cycle on and off erratically. Also, check the SSR itself for failure; a partially shorted SSR can cause continuous, uncontrolled heating, while a failing one may not trigger consistently, leading to insufficient heat.
Heating System and Mechanical Component Inspection
Visually inspect the heating elements for signs of uneven wear, hot spots, or breakage. An element that is beginning to fail may have increased resistance in certain sections, causing uneven heating across the furnace chamber. This creates temperature gradients that the single-zone controller cannot manage, resulting in constant fluctuations as it tries to average the temperature from a single sensor location. Use an infrared thermometer to scan the elements during operation for unusual temperature variations.
Examine the mechanical integrity of the furnace chamber and insulation. Damaged or degraded refractory insulation can lead to significant heat loss in specific areas, forcing the heating system to work harder and cycle more frequently to maintain temperature, manifesting as instability. Check for cracks in the lining, worn door seals, or damaged insulation around thermocouple penetration points that could create localized cooling drafts.
Assess the performance of any cooling components within the system, such as exhaust blowers or water-cooled jackets. If these cooling systems are controlled by the same temperature controller, a faulty cooling solenoid valve or a blower with a failing bearing can lead to uncontrolled cooling, fighting against the heating elements. Ensure cooling components activate smoothly and only when commanded by the controller, not due to mechanical sticking or electrical faults.
Systematic Process and Data Logging Review
Implement continuous data logging of the furnace temperature over several complete process cycles. Plotting temperature versus time will reveal patterns invisible to the naked eye, such as slow drifts correlated with facility power usage, rapid oscillations tied to a specific controller output percentage, or step changes that coincide with the activation of other nearby equipment. This data is critical for distinguishing between random noise and systematic faults.
Review the programmed temperature recipe or profile for the specific cleaning process. Look for unnecessary short-duration steps, overly aggressive ramp rates, or setpoints that are very close to the controller’s switching differential. A setpoint of 300°C with a controller differential of +/-2°C will naturally cause more frequent on/off cycling and perceived instability compared to a process running steadily at 350°C. Optimizing the recipe for smoother thermal transitions can improve stability.
Correlate temperature instability events with the operational phase of the screw cleaning cycle. Instability that only occurs during the initial heat-up ramp may point to an underpowered heating system or excessive thermal mass. Fluctuations only during the high-temperature dwell phase could indicate issues with insulation or control tuning. Instability that appears during the cooling phase likely involves malfunctioning cooling controls or external ventilation influences. Isolating the problem to a specific process segment narrows the diagnostic focus significantly.


