
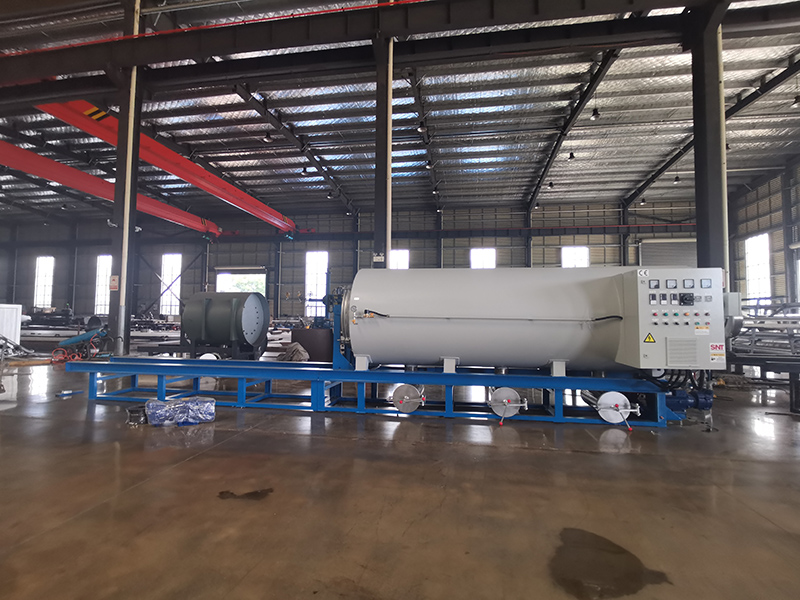
Even with regular maintenance, screw cleaning furnaces can develop operational issues that disrupt production cycles. Knowing how to systematically diagnose these common problems helps minimize downtime, prevent unnecessary part replacements, and keep the equipment running reliably for long periods.
Uneven Heating and Temperature Deviations
When the furnace fails to reach the set temperature or shows large, inconsistent temperature differences across different zones, start by checking the temperature sensors first. Gently remove each thermocouple or temperature probe and inspect its tip for burnt residue, carbon buildup, or physical bending that could disrupt accurate readings. If the sensor surface is coated with thick deposits, clean it carefully and re-calibrate it against a portable reference thermometer to confirm it is giving correct readings. Next, inspect the heating elements for signs of discoloration, cracks, or partial burnout that could reduce their heat output. Check the power supply connections to each heating zone to make sure no loose wires or faulty contactors are limiting power delivery. Finally, verify that the airflow or circulation system inside the chamber is not blocked by leftover debris, which can trap hot spots and create uneven heat distribution across the screw assembly.
Screw Binding and Unusual Drive Noise
If the drive motor trips frequently, draws higher-than-normal current, or emits grinding, scraping sounds during operation, stop the system immediately and let it cool down completely. Open the access doors and manually rotate the screw shaft by hand to feel for points of resistance or jamming. Check the gap between the screw flights and the inner furnace wall for any leftover hard carbon chunks, broken fragments of cleaning media, or misaligned components that could be scraping against each other. Inspect the screw shaft bearings and gearbox for signs of insufficient lubrication, worn teeth, or contaminated oil that can create extra friction and noise. If the binding only appears when the furnace is at operating temperature, check for thermal expansion misalignment: uneven heating can cause the screw to warp slightly and make contact with the chamber wall. Adjust the alignment marks on the shaft couplings and recheck the clearance after the system cools down to eliminate this issue.
Poor Cleaning Performance and Residue Buildup
When the screw still carries stubborn polymer or carbon deposits after a full cleaning cycle, do not immediately extend the heating time. First, verify that the actual peak temperature inside the chamber matches the programmed cleaning temperature, using a separate portable temperature logger to cross-check the readings. If the temperature is too low, the deposits will not fully decompose, no matter how long the cycle runs. Next, check the exhaust vent and fume extraction line for blockages caused by condensed heavy residues. A clogged exhaust prevents volatile gases from escaping the chamber, creating a pressurized, low-oxygen environment that slows down the breakdown of deposits. Finally, inspect the rotation speed of the screw during the cleaning cycle. A speed that is too high can skip over deposits without giving them enough heat exposure, while a speed that is too low can let new melted material stick back onto the flights. Adjust the rotation parameters to match the type of residue you are removing, and add a short, slow rotation segment at the end of the cycle to scrape off any softened leftover material before it cools and hardens.


