
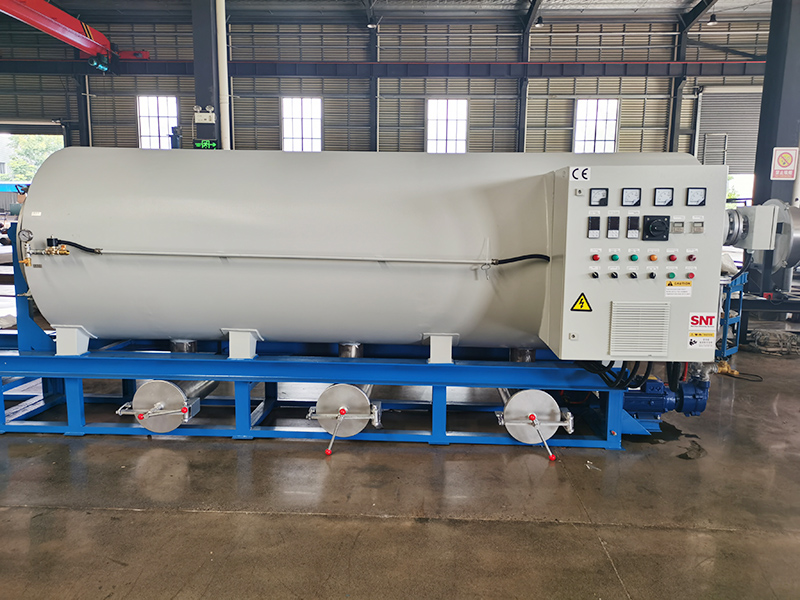
Safe cleaning procedures after fully disconnecting power from a screw cleaning oven prevent electrical shock, accidental equipment activation and damage to sensitive control systems. Following a verified power-off protocol ensures the work area remains completely de-energized throughout the entire cleaning process, protecting both the technician and the equipment.
Complete power isolation and verification steps
Start at the main electrical panel and switch the dedicated circuit breaker for the oven to the OFF position, then attach a physical lockout tag to the breaker handle to prevent anyone from accidentally restoring power during the cleaning work. Return to the oven and unplug it from any wall outlet or disconnect it from the hardwired supply line, depending on the installation type. Use a certified voltage tester to check all power input terminals, control panel connections and heating element terminals, confirming zero voltage is present before touching any internal components. Remove any backup batteries from the control unit if applicable, as these can keep certain circuits active even after main power is disconnected. Wait at least 15 minutes after disconnection before starting any cleaning work, to allow any stored capacitive charge in the system to dissipate completely, especially in ovens with advanced electronic controls.
Safe cleaning workflow in a de-energized state
With power confirmed off, begin by wiping down all external surfaces, control panels and display screens with a slightly damp, non-abrasive cloth, avoiding any liquid seepage into button gaps or ventilation slots. For the interior chamber, use only non-conductive cleaning tools such as plastic scrapers, soft bristle brushes with wooden handles and lint-free cloths, to eliminate any risk of creating an accidental electrical path. When cleaning around heating element terminals, temperature sensor connections or any visible wiring, use a dry cloth or a brush with insulated handles, and never spray liquids directly onto these areas. If you need to remove any panels or covers to access hidden areas for cleaning, use only hand tools with insulated grips, and keep all removed screws and fasteners in a small container so none are lost inside the equipment. After cleaning each section, visually inspect for any signs of water ingress, loose wires or damaged insulation that may have been exposed during the process, and note these for repair before restoring power.
Post-cleaning reassembly and power restoration checks
Ensure all interior surfaces are completely dry, with no moisture remaining in screw threads, corner seams or around electrical enclosures, by using a dry cloth and low-pressure air if necessary. Reinstall any removed panels or covers securely, making sure all fasteners are tightened properly and no wires are pinched or strained by the reassembly. Double check that all cleaning tools, cloths and foreign objects have been removed from the interior chamber, control panel area and any service openings. Remove the lockout tag from the circuit breaker, restore power at the main panel, and then turn on the oven using the main power switch. Immediately run a short no-load test cycle at a low temperature setting, monitoring for any unusual sounds, error messages on the display or unexpected behavior that might indicate a problem introduced during cleaning. Once the test cycle completes successfully, the oven is ready to return to normal production use.
Establishing and strictly following a power-off cleaning routine turns a routine maintenance task into a consistently safe operation. This disciplined approach prevents the vast majority of workshop accidents related to equipment cleaning and ensures the oven remains reliable through years of service.




