
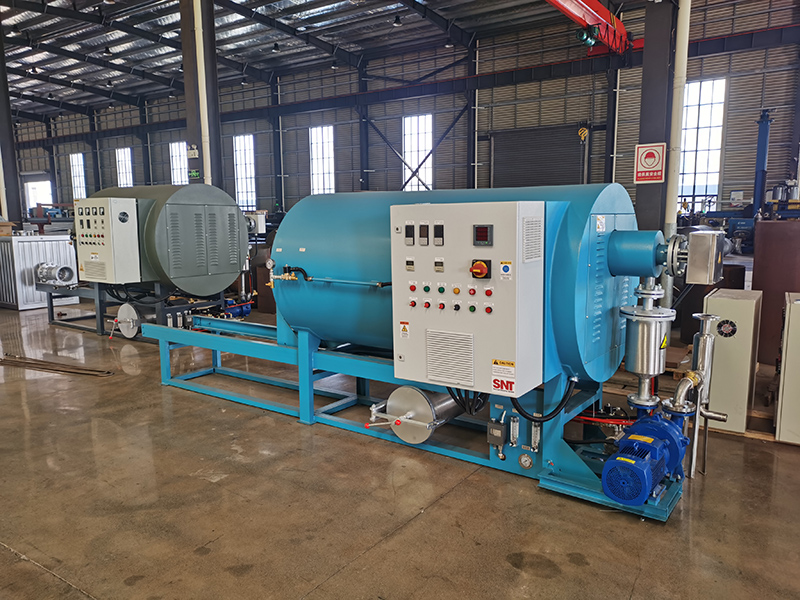
A combined cleaning and rust prevention method for screw cleaning ovens tackles two critical maintenance goals in one streamlined workflow, removing existing contaminants while applying a protective layer that stops new corrosion from forming. This integrated approach saves time, reduces chemical usage and keeps the equipment in reliable condition for longer periods between major overhauls.
Pre-treatment inspection and surface preparation
Fully disconnect all power supplies and confirm the equipment has cooled to room temperature, to avoid thermal shock that could affect protective coating adhesion. Inspect every metal surface inside the oven chamber, focusing on screw flight roots, chamber wall corners, mounting brackets and heating tube bases where moisture tends to collect. Use a bright portable light to spot early signs of surface rust, tiny pitting or discoloration that might be hidden under normal workshop lighting. For areas with existing light surface rust, gently scrub the spot with a fine-grade non-metallic abrasive pad to remove loose flakes without digging into the base metal. Wipe the entire interior with a lint-free cloth dampened with a mild neutral cleaner to dissolve grease and oil films that could block rust inhibitor adhesion, then follow with a clean water rinse cloth to remove all cleaner residue. Let all surfaces air dry completely or use low-pressure dry air to speed up the process, making sure no hidden moisture remains in narrow gaps before moving to the next step.
Combined cleaning and protective application process
Start by applying a thin, even layer of specialized water-based rust preventive solution to all cleaned metal surfaces, using a soft applicator brush or lint-free cloth. Work in small sections, covering one area fully before moving to the next, to ensure consistent coverage without missing spots. For the screw assembly, apply the solution along the full length of each flight, making sure the protective layer reaches the root of the threads and both end connection points. Inside the oven chamber, focus on welded seams, corner joints and areas around heating element mounts where condensation often forms during cooling cycles. Allow the first coat to dry to a light tack state, which usually takes 10 to 15 minutes at normal workshop temperature, then apply a second thin coat to build a more durable barrier without creating a sticky surface. While the protective coating dries, use the same rust preventive solution to wipe down all external metal surfaces, control panel frames and door hinges, to create a unified protective barrier against workshop humidity. Do not apply the solution to heating element surfaces, temperature sensor probes or electrical connection points, as this could affect their performance or create insulation issues.
Post-application curing and operational readiness check
Leave the oven door fully open in a well-ventilated area for at least 60 minutes, to let the protective coating cure fully before any heat exposure. Check that the dried coating forms a clear, non-tacky film that does not transfer onto a clean cloth when lightly touched. Reinstall all internal components carefully, avoiding scraping or scratching the newly applied protective layer on mounting points and contact surfaces. Restore power and run a low-temperature test cycle for 20 minutes, then inspect the interior to confirm the protective coating remains intact and no unusual odors or smoke appear. Add a note to your maintenance schedule to reapply the rust preventive solution after every third or fourth regular cleaning cycle, depending on your local humidity levels and production frequency.
This combined method cuts down the total time spent on separate cleaning and rust prevention tasks, and it ensures the protective layer is applied immediately after cleaning when the metal surface is most receptive. Many facilities find that this integrated routine significantly extends the time between major corrosion repairs and reduces unexpected downtime caused by rust-related component failures.



