
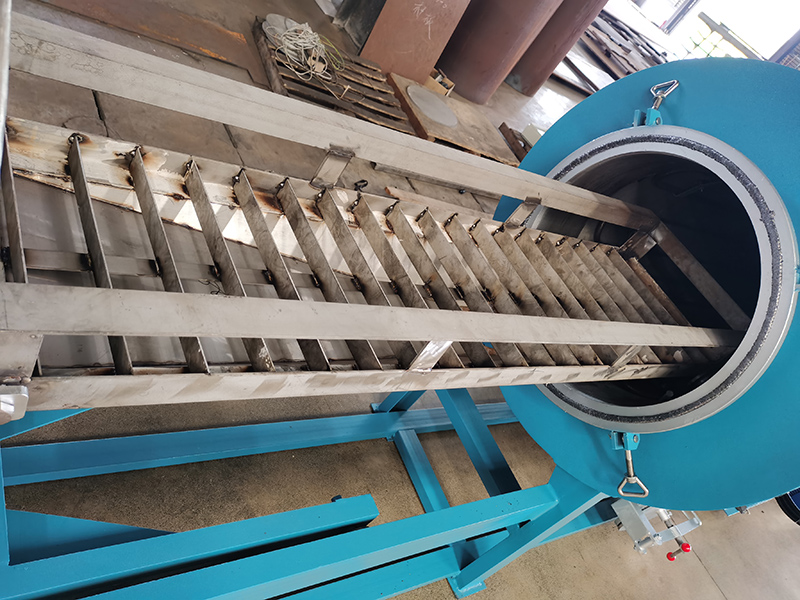
Cleaning Grime from Screw Cleaning Furnace Door Seams and Gaps
Initial Inspection and Dry Debris Removal
Begin by examining the door perimeter with a bright light held at a shallow angle. This lighting makes even thin layers of dust and fine debris visible in the gap between the door and the frame. Note the type of accumulation: is it loose, fluffy dust, a sticky tar-like substance, or hard, baked-on scale? Each type will require a different removal approach. Pay special attention to the bottom hinge area and the latch side, as these spots often collect the most material due to gravity and airflow patterns.
Use dry, non-metallic tools for the first pass. A soft-bristle brush, like a clean paintbrush or a dedicated detailing brush, is ideal for dislodging loose particles from the crevice. Work the bristles gently into the gap, brushing from the inside of the furnace outward to push debris out, not deeper in. Follow this with a vacuum cleaner using a narrow crevice tool attachment. Hold the nozzle close to, but not forcing into, the gap to suck out the loosened material. Avoid using compressed air at this stage, as it will simply blow the fine dust deeper into the furnace’s internal mechanisms or into the room air.
For slightly caked-on material that doesn’t brush away, a plastic scraper or a wooden tongue depressor is the next step. Carefully insert the edge into the gap and use a scraping motion parallel to the door edge. The goal is to lift the material out in flakes or strips, not to gouge the metal surfaces. Keep a small container or rag handy to catch the debris as it falls. If the scraper meets significant resistance, stop. Forcing it can damage the delicate sealing surface of the door or frame, which is far more costly to repair than dealing with the dirt.
Deep Cleaning of Adhered Residue and Stains
If dry methods are insufficient, move to a controlled wet cleaning. Prepare a mild cleaning solution of warm water and a few drops of a neutral pH, non-foaming detergent. Do not use strong solvents, acids, or abrasive cleaners, as they can degrade the door gasket material or damage the finish. Dampen a narrow strip of lint-free cloth or a foam swab—do not soak it. Excess liquid can run into the hinge pins, latch mechanism, or electrical interlock switches, causing corrosion or short circuits.
Wring out the cloth thoroughly until it is just damp. Wrap it around the end of a flat tool, like a plastic putty knife, to create a thin, stiff edge. Gently work this padded edge into the gap, using a back-and-forth wiping motion. Replace the cloth as it becomes dirty. For stubborn, gummy residues, you may need to let the damp cloth sit against the spot for a few minutes to soften the material before wiping. Always work in small sections, drying the area immediately with a second, dry cloth or compressed air on a very low setting to prevent moisture from sitting in the seam.
After cleaning the gap, meticulously clean the door gasket itself. This is the most critical component for sealing. Examine the gasket for any embedded particles, cracks, or permanent deformation. Gently wipe its entire surface with a cloth dampened with the same mild solution, then dry it completely. A common mistake is cleaning the metal surfaces but leaving dirt on the gasket, which will cause leaks just as surely. Once dry, apply a very thin film of a high-temperature silicone lubricant or a gasket conditioner specified by the furnace manufacturer. This keeps the gasket pliable and helps it seal more effectively, but avoid over-application, as excess product can attract more dust.
Post-Cleaning Function Test and Leak Check
Before closing the door for operation, perform a simple “paper test.” Cut a strip of ordinary notebook paper. Close and latch the furnace door normally. Try to pull the paper strip out from various points around the door perimeter—top, sides, and bottom. You should feel consistent, firm resistance. If the paper slides out easily at any point, it indicates the seal is not making full contact, possibly due to remaining debris, a damaged gasket, or a misaligned door. Mark these spots and re-inspect.
Operate the door latch mechanism several times by hand. It should engage smoothly and firmly without grinding or sticking. A clean latch ensures the door is pulled evenly and tightly against the seal. If the mechanism feels gritty, it may need to be cleaned internally with a spray-on electrical contact cleaner that displaces moisture and leaves no residue, followed by a light lubricant on moving parts only.
Finally, conduct a low-temperature smoke test. With the furnace at room temperature and the exhaust system running, introduce a small amount of safe smoke (from a smoke pencil or a stick of incense) near the cleaned door seams. Watch the smoke movement. It should be drawn steadily into the furnace through the normal negative pressure. If the smoke is blown away from the seam or shows turbulent, inconsistent movement, it suggests an air leak. This test provides a final verification that your cleaning has restored the integrity of the door seal, ensuring efficiency and safety for the next production run. Document any persistent leak locations for further mechanical adjustment.


