
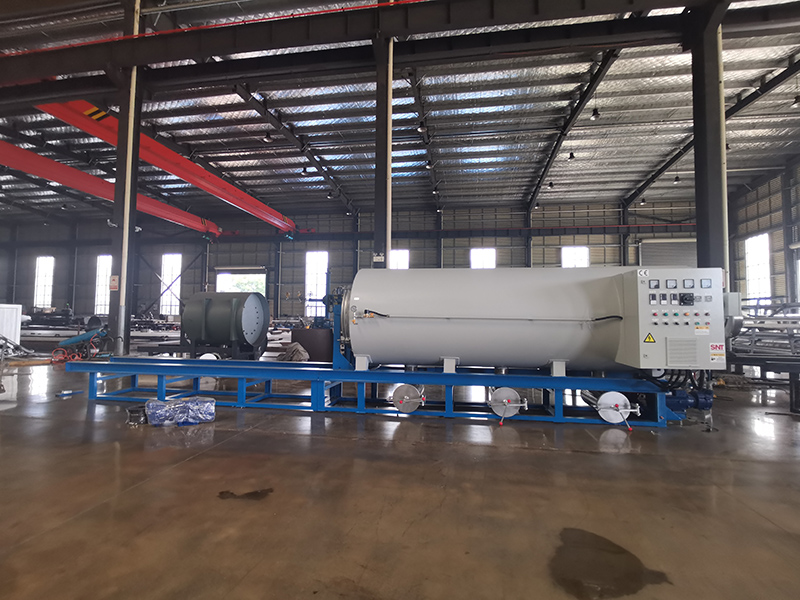
Protecting and Maintaining External Wiring on Screw Cleaning Furnaces
Routine Visual Inspection and Environmental Control
Walk the entire perimeter of the furnace at the start of each work week, focusing on the path of all external cables and conduits. Look for any new signs of physical damage, such as cuts in cable insulation, dents in metal conduit, or loose cable ties that allow wires to sag and rub against sharp edges. Pay special attention to areas where cables pass through walls or floor penetrations, as these points are common spots for abrasion. Use a flashlight to check the underside of cable trays and the backsides of conduits that are not immediately visible from a standing position. Catching a small nick in the insulation early can prevent a major short circuit or ground fault later.
Control the immediate environment around external wiring runs. Ensure that no new equipment, storage racks, or pallets are placed within a half-meter of cable trays or conduits. This clear zone prevents accidental impacts from forklifts or other moving equipment and allows for adequate airflow to keep cables cool. If the furnace is in an area where airborne dust or conductive metal particles are present, consider installing removable protective covers over critical cable bundles. These covers should be non-flammable and easy to take off for inspections, not sealed enclosures that trap heat and moisture against the wires.
Check for signs of moisture accumulation or chemical exposure along the wiring path. Look for discoloration on insulation, white corrosion on metal conduit, or water stains on walls and floors near cable entry points. In environments with washdown procedures or high humidity, verify that all conduit seals and cable glands are intact and properly tightened. A small amount of moisture wicking into a conduit can lead to corrosion of copper conductors over time, increasing electrical resistance and creating a potential fire hazard. If you find any signs of liquid ingress, trace the source and seal it before drying out and inspecting the affected cables.
Proactive Connection Integrity and Support Verification
Tighten all external terminal connections, such as those at disconnect switches, junction boxes, and motor starters, during scheduled quarterly maintenance. Use the correct size and type of tool to avoid rounding off fastener heads. Apply firm, even pressure—overtightening can strip threads or crack terminal blocks, while undertightening leads to increased resistance and heat buildup. After tightening, mark the fastener with a small dot of inspection paint; if the mark cracks or shifts by the next inspection, it indicates the connection is loosening under thermal cycling or vibration and needs further attention.
Inspect the physical support system for all cables. Ensure that cable trays are securely mounted to the building structure and have not sagged over time. Verify that individual cables within trays are neatly arranged and not piled in a tangled mess, which can trap heat. Check that vertical cable drops have proper strain relief at the top to prevent the weight of the cable from pulling on the terminations below. For cables run in conduit, ensure the conduit itself is well-supported and that there are no sections where it is hanging freely, as this can lead to fatigue and breakage at connection points.
Test the insulation resistance of critical power and control circuits annually, or immediately if any visual damage is suspected. Use a properly rated megohmmeter (megger) to apply a test voltage between conductors and between conductors and ground. Record the resistance values and compare them to the manufacturer’s specifications and previous test results. A steady decline in insulation resistance over several years is a normal sign of aging, but a sudden, significant drop indicates immediate damage or contamination that must be addressed before the furnace is put back into service. Always follow lock-out/tag-out procedures and ensure the furnace is completely de-energized before performing this test.
Mitigating Damage from Heat, Vibration, and External Stress
Install additional thermal protection for cables that run close to hot furnace components or exhaust ducts. Use high-temperature sleeving or reroute the cables entirely if possible. Heat is one of the fastest aging factors for wire insulation; prolonged exposure to temperatures beyond the cable’s rating will cause the insulation to become brittle and crack. Feel the outer jacket of cables in these areas during a full-temperature furnace cycle (with caution). If it is too hot to touch comfortably, the cable is operating outside its safe temperature range and requires intervention.
Address vibration at its source to protect wiring. Loose fan blades, unbalanced motors, or un-damped conveyor mechanisms can send high-frequency vibrations through the furnace frame and into attached conduits and cable trays. Over time, this vibration can cause wires to fatigue and break internally, especially at termination points. Secure any loose components, install vibration-damping pads under motor mounts, and use flexible conduit or looped cable in areas where some movement is unavoidable. After making adjustments, re-check the affected wiring in a few days to ensure the fix is effective.
Document any modifications or additions to the external wiring system. When new sensors, lights, or other devices are added, update a simple as-built diagram showing the new cable routes and connection points. This practice prevents future maintenance personnel from accidentally damaging unknown cables during repairs or installations. Use durable, legible labels on both ends of every cable and at each junction box. In the event of a fault, clear labeling drastically reduces troubleshooting time and prevents the wrong wire from being disconnected, which could lead to extended downtime or safety issues. Keep this documentation in a weatherproof sleeve near the furnace’s main electrical panel for easy access.



