
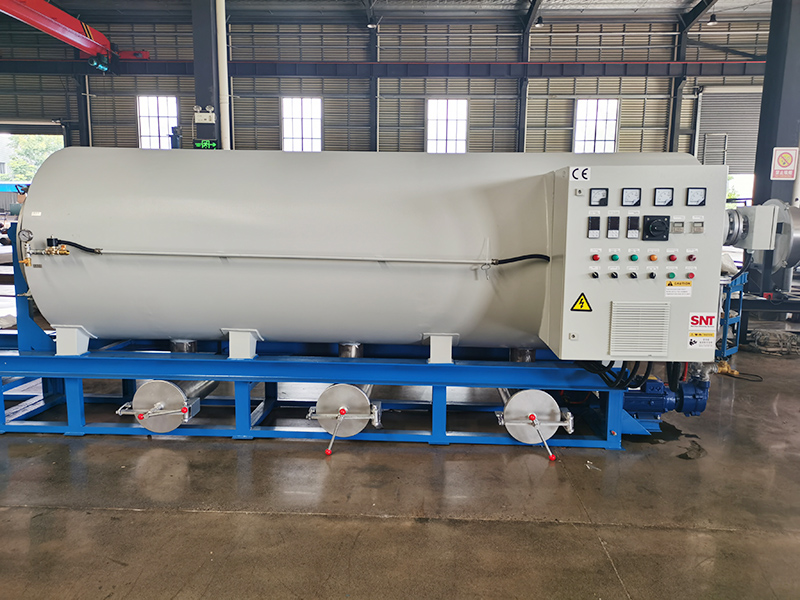
Restart Procedures After Long-Term Shutdown of Screw Cleaning Furnaces
Comprehensive Pre-Power Inspection and Cleaning
Begin by removing any protective covers or sealing tape that was applied to openings before the storage period. Check every vent, duct, and access port for signs of pest nests, dust accumulation, or moisture intrusion. Use a flashlight to inspect the interior of the furnace chamber and electrical cabinets, looking for cobwebs, rodent droppings, or any foreign material that may have entered during dormancy. Vacuum all internal surfaces with a soft brush attachment, paying special attention to corners, under heating elements, and around sensor probes where debris tends to collect. Even a small amount of organic material left inside can create smoke or unpleasant odors during the first heat cycle.
Examine all flexible connections, such as wiring harnesses, hoses, and bellows, for signs of dry rot or cracking. Materials like rubber and certain plastics can become brittle when not used for extended periods, especially if the storage environment experienced temperature fluctuations. Gently flex each hose and cable by hand, looking for fine cracks or a loss of elasticity. Check the condition of all gaskets and seals on doors and access panels; these are often the first components to degrade during idle time. If any seal feels stiff or shows visible cracking, replace it before attempting to restart, as a failed seal during operation can lead to heat loss and safety hazards.
Verify the integrity of all thermal and electrical insulation. In storage, insulation materials can settle, become compressed, or absorb ambient moisture, reducing their effectiveness. Look for any sections of insulation that appear discolored, damp, or physically damaged. For electrical cabinets, use a moisture-absorbing spray or a low-temperature heat gun on a gentle setting to eliminate any condensation that may have formed on components before applying power. Never use high heat or direct flame near electrical parts, as this can damage sensitive circuitry.
Gradual System Re-energization and Functional Testing
Reconnect the furnace to power following a strict sequence to avoid inrush current spikes that could damage control components. First, ensure all circuit breakers and disconnects are in the OFF position. Restore power at the main service panel, then energize individual sub-panels one at a time, waiting a few minutes between each to allow control boards to initialize properly. Do not turn on the main furnace power switch until you have confirmed that all auxiliary systems—such as cooling water pumps, exhaust fans, and control air supplies—are operational and showing normal pressure or flow readings.
Initiate a low-power, no-load test of the control system without activating the heating elements. Navigate through the control interface to confirm all screens, buttons, and indicators are functioning. Check that safety interlocks, door switches, and temperature sensors are being read correctly by the controller. A sensor that shows an open circuit or a wildly incorrect reading may have corroded connections or internal damage from humidity during storage. Manually cycle all solenoids and motor contactors to verify they engage and disengage smoothly, listening for any unusual grinding or sticking sounds that indicate mechanical binding.
Perform a staged heat-up of the empty chamber. Set the controller to a very low temperature target, such as 50°C, and initiate a heating cycle. Monitor the rate of temperature increase and the uniformity across different zones. A zone that heats much slower than others may indicate a faulty heating element or a broken connection that occurred during the idle period. Once the low temperature is reached and stabilized, increase the setpoint in 50°C increments, holding at each step for 15-20 minutes. This gradual process allows any residual moisture deep within the insulation to evaporate slowly without creating steam pressure, and it gives the refractory materials time to expand uniformly, preventing thermal shock cracks.
Post-Startup Verification and Initial Production Run Protocols
After the successful staged heat-up, allow the furnace to cool down completely to ambient temperature. Once cool, open the chamber and perform a final visual inspection of the interior lining, heating elements, and thermocouples. Look for any new hairline cracks in the refractory that may have formed during the first heat cycle, or any signs of element sagging or discoloration. This cool-down inspection is critical, as some stress-related damage only becomes visible after the materials have contracted back to their original state.
For the first several production runs, use a sacrificial or lower-value batch of screws. This allows you to verify cleaning performance without risking important production parts. Monitor the process closely, documenting key parameters like time to temperature, final cleaning quality, and any unusual odors or sounds. Compare this data to the furnace’s performance logs from before the shutdown. Pay close attention to the exhaust system; seals and gaskets in the ductwork may have shrunk or hardened, potentially causing small leaks that were not present before.
Establish an intensified monitoring schedule for the first 40-50 hours of operation post-restart. Check electrical connection points for warmth (indicating a loose, high-resistance connection) at the end of each run. Monitor energy consumption per batch compared to historical averages. Listen for any new vibrations or harmonics in motors and fans that might suggest bearings dried out during storage. This period of heightened vigilance allows you to catch and address any latent issues that were triggered by the restart process, ensuring the furnace returns to reliable, long-term service. Keep detailed records of all observations and adjustments made during this break-in phase for future reference.



