
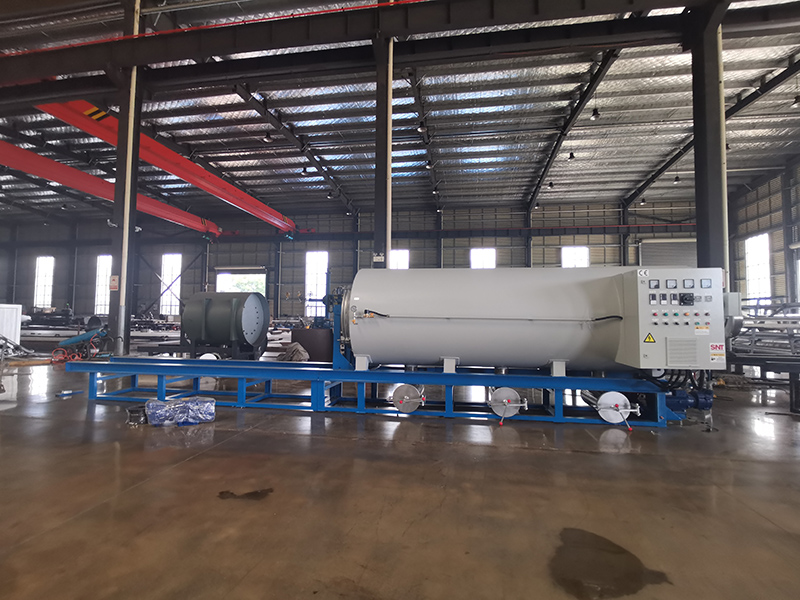
Screw cleaning furnace floor mounting directly impacts operational stability, thermal consistency, and long-term structural integrity across thousands of high-temperature cycling sessions. Improper fixed installation often leads to frame deformation, uneven load distribution, and misalignment between internal screw rotation tracks, which gradually reduces cleaning efficiency and creates unnecessary mechanical stress on drive components. Every step of the mounting process must account for site-specific floor conditions, thermal expansion behavior, and routine maintenance access requirements to support reliable, uninterrupted operation.
Pre-installation site assessment and base preparation
Start by surveying the selected installation area to confirm the floor can support the full static and dynamic load of the fully assembled furnace, including all internal components and maximum material loading weight. Mark out a perimeter around the unit that leaves unobstructed space for routine inspection, component replacement, and heat dissipation airflow circulation. Level the entire mounting zone to eliminate uneven spots that would create twisted stress across the furnace base frame after installation. Remove any residual oil, loose concrete particles, or old floor coating layers from the marked area, then lay a continuous, rigid leveling pad that distributes the unit’s weight evenly across every contact point. Confirm no underground pipelines or wiring runs directly beneath the mounting footprint, to avoid accidental damage during subsequent anchoring work.
Anchor point layout and stress distribution optimization
Map out anchor positions symmetrically along the outer edges of the furnace base frame, rather than clustering all mounting points near one side or only at the four corners. Add intermediate anchor locations along longer frame spans to prevent minor sagging that could develop after months of repeated heating and cooling cycles. Drill anchor holes to a depth that fully engages the underlying structural floor layer, clearing all dust and debris from each hole before inserting anchoring components. Tighten each anchor in a staggered, cross-sequence pattern instead of tightening one side completely before moving to the next, so the frame settles evenly without being pulled into a twisted alignment. Leave a small, controlled gap between the furnace base and the rigid floor surface at designated points, to accommodate minor horizontal thermal expansion that occurs when the furnace ramps up to full operating temperature.
Vibration isolation and alignment verification
Place vibration damping elements between each anchor contact surface and the furnace base frame, to absorb mechanical resonance generated by the internal rotation drive system during operation. Use a precision spirit level placed across multiple reference points on the top frame surface to check horizontal alignment, adjusting each anchor’s tightness incrementally until the entire frame stays within the strict flatness tolerance required for smooth screw movement. Run the drive system at low speed for 30 minutes after initial mounting, then recheck all anchor tightness and frame alignment to confirm no shifting occurred during mechanical operation. Mark clear reference lines on the floor and furnace base at every anchor position, so any future positional shift can be spotted quickly during routine maintenance checks.


