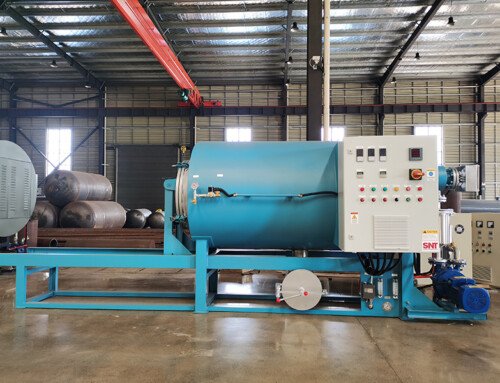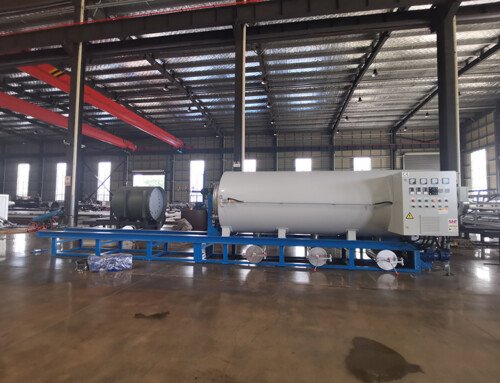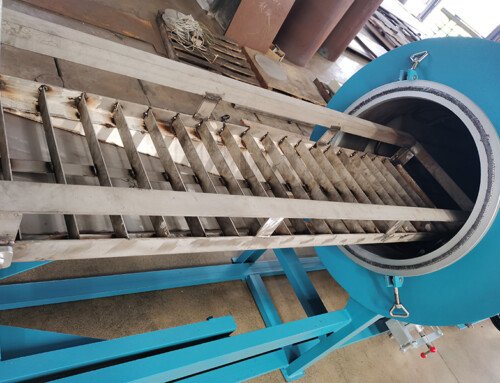
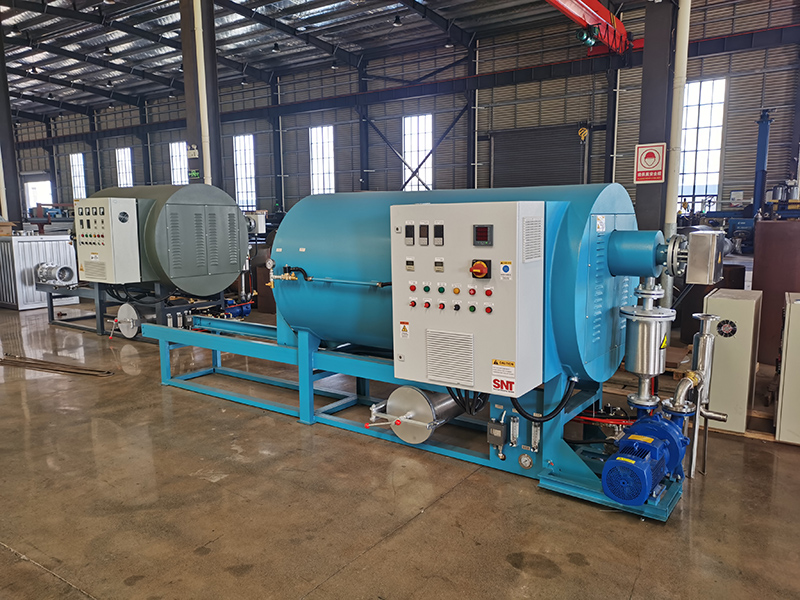
Cleaning hot runner nozzles in a burn off oven eliminates the tedious, high-risk work of manually picking residual polymer and carbonized buildup out of tiny nozzle orifices. Traditional manual cleaning methods often scratch precision seal surfaces, bend internal heater elements, or leave tiny traces of abrasive debris that cause flow blockages during production. A properly controlled thermal cycle breaks down every layer of trapped plastic and hard carbon residue, leaving no leftover material inside the nozzle body, gate tip, or internal flow channels, without applying uneven mechanical force that damages tight-tolerance components.
Complete full pre-disassembly preparation to protect sensitive nozzle components.
You cannot send a fully assembled hot runner nozzle straight into the thermal chamber without first removing parts that cannot withstand high sustained heat. Pull out all internal thermocouples, heater cartridges, sealing O-rings, and any soft non-metallic components before you begin. Even heat-resistant wiring insulation will break down and leave unwanted carbon residue inside the chamber if exposed to full burn off temperatures, and it will permanently damage components that are expensive to replace.
Label every individual part clearly and lay them out in the exact order you removed them. Hot runner nozzles often share very similar external dimensions but have different internal flow channel designs, and mixing up parts between nozzles during reassembly will cause misalignment, leaks, or uneven melt flow during production. Wipe off large, soft chunks of molten plastic from the nozzle body while it is still slightly warm after being pulled from the mold, to reduce excess fume generation during the thermal cycle.
Run a low-thermal-shock staged cycle tailored for small precision components.
Hot runner nozzles have thin walls, embedded small flow paths, and dissimilar metal joints that can warp or develop stress cracks if you expose them to an immediate high-temperature surge. Start the cycle at a very low initial temperature, and hold that level long enough for all remaining low-melting-point polymer to slowly liquefy and drain out of the nozzle’s tiny gate openings. This prevents trapped molten plastic from boiling and expanding inside narrow channels, which can create internal pressure that damages delicate flow path geometry.
Ramp the temperature up slowly in small, controlled increments until you reach the full pyrolysis range. Hold this temperature long enough for every thin layer of carbonized residue inside even the smallest orifice to break down completely into fine, dry ash. Avoid pushing temperatures far beyond the required range, because excessive prolonged heat can alter the temper of precision ground seal surfaces or cause minor distortion on the nozzle tip that will ruin gate quality during molding.
Perform post-cycle ash removal and precision inspection before reassembly.
Once the full cycle completes, let the nozzles cool down completely in a low-oxygen environment inside the closed chamber. Pulling them out while they are still red hot will cause rapid surface oxidation that leaves a thick, hard scale on precision sealing faces, which you will then have to grind away to get a proper leak-tight seal later.
When the parts reach full room temperature, use low-pressure dry compressed air to blow fine ash out of every flow channel, small gate hole, and external thread. Follow this with a soft non-abrasive cloth to wipe down all sealing surfaces, and never use wire brushes, sandblasting media, or sharp scraping tools on any precision machined areas. Inspect every nozzle tip, seal cone, and internal flow path under magnification to confirm no trace of leftover ash or carbon remains, and check for any sign of distortion, cracking, or wear that you did not notice before the cleaning process.
Once every part is fully clean and inspected, reassemble the nozzles with new sealing components, and confirm all mounting threads turn smoothly without binding. Add a quick pressure test to the reassembled unit to make sure no blockages remain inside the flow path, before you put them back into the hot runner manifold for production. Integrating this thermal cleaning step into your regular hot runner maintenance routine will eliminate the vast majority of black speck contamination, gate stringing, and inconsistent melt flow issues that develop after hundreds of hours of continuous molding.